|
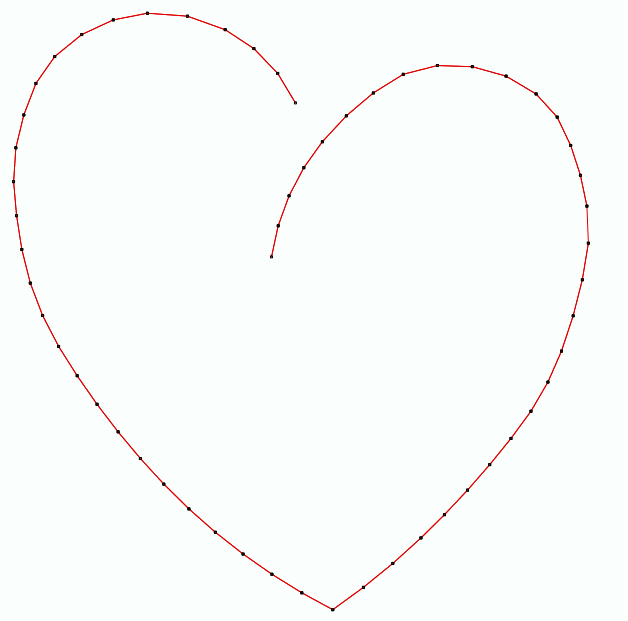
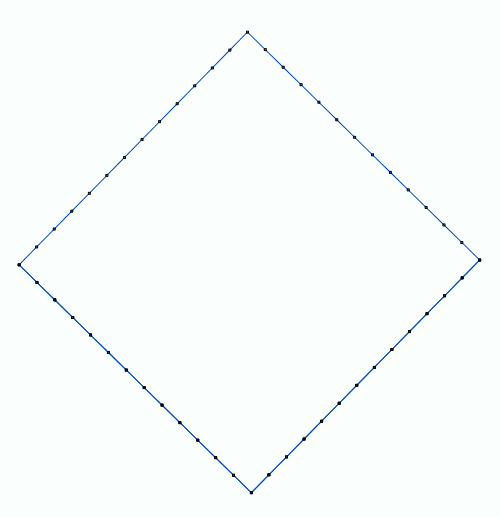
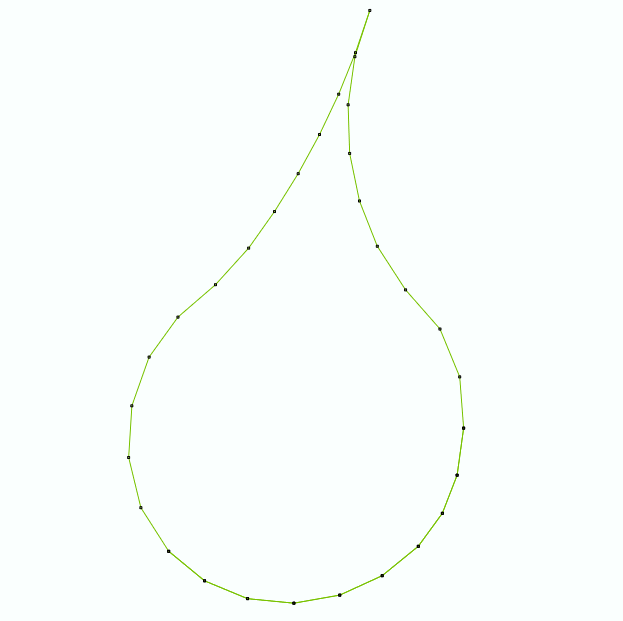
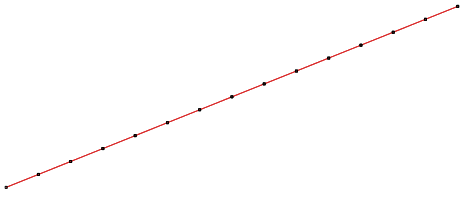
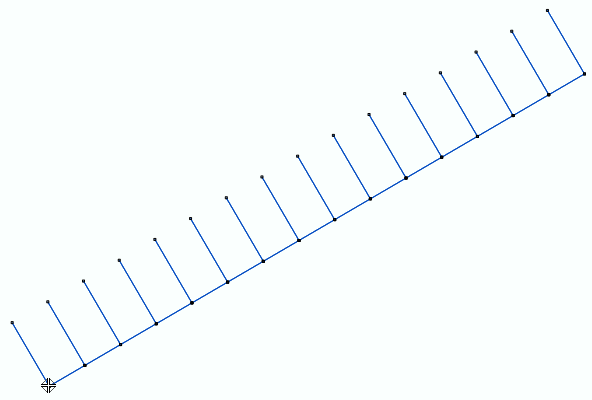
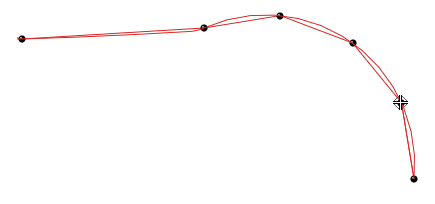
This fill style places stitches on a path object defined by straight or curve segments.
|
How to create an object of this type?
➢Select the tool Create a Path with Running Stitches through any available way:
oOpen the Smart Design window and select the corresponding tool.
oClick on the arrow below the "Create Objects" button and select the corresponding tool.
oOpen the Embroidery ToolsTab, click on the arrow below the "Path" button and select the corresponding tool.
A context ToolsTab containing the most frequently used properties of this fill style will open.
➢Set the fill properties from the ToolsTab (above) or the Object Inspector (below).
➢Digitize the object (through any digitizing method) by inserting the required elements of this object type. |
|
➢Confirm and GENERATE stitches.
➢If editing is required, just select the EDIT OBJECT function on the MAIN toolbar. |
|

|
About Fill Style Properties
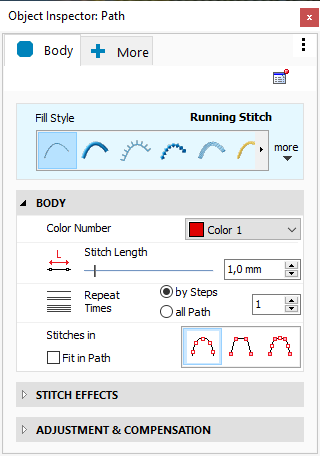
•You can edit (define or modify) all the properties of this object type from the Object Inspector (see below). •The most commonly used properties are also available on the corresponding tooltab. •The current value of the properties are displayed on the Object Inspector or the tooltab when an object of this type is being created or when an existing object of this type is selected. |
|
|
Color Number

|
This is the color number of the thread/color palette.
You can change the color number from the color bar, from the context tooltab or from the object inspector.
The thread color for this color number is defined (and can be redefined) on the thread/color palette.
The stitches of the selected object will be created using the selected color.
This number is also the needle number of the embroidery machine (for multi-needle machines), unless the needle sequence is redefined.
|
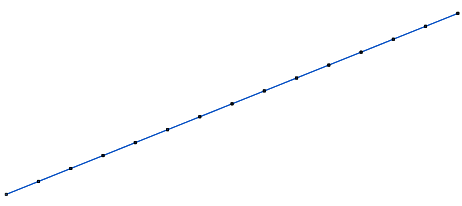
Change Color Number on a Path with Running Stitches
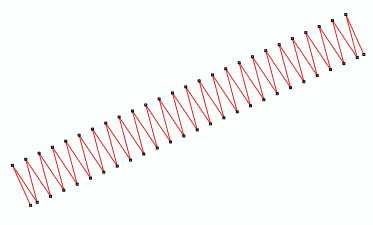
Change Color Number on a Path with Zig-Zag Stitches
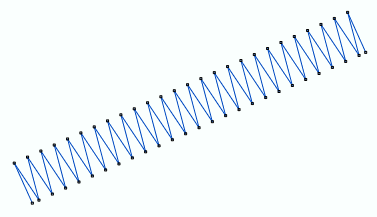
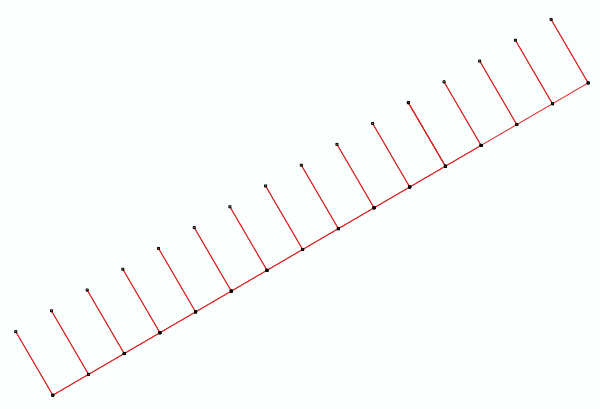
Change Color Number on a Path with E Stitches
|
It specifies the color number of the thread palette corresponding to the main color of the object.
Stitch Length

|
Distance between the stitch ends (needle perforations).
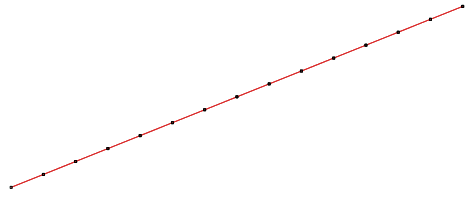
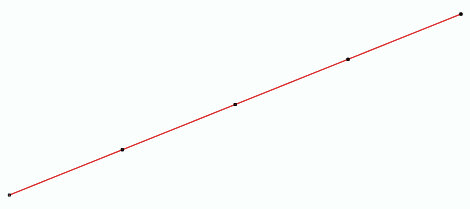
You can change the stitch length. Increasing this value will decrease the number of stitches of the selected object.
|
Change Stitch Length on a Path with Running Stitches
|
stitch lenght 1.0 mm
|
|
stitch lenght 4.0 mm
|
|
|
|
|
Change Stitch Length on an Area with Pattern Fill Stitches
|
stitch lenght 1.0 mm
|
|
stitch lenght 4.0 mm
|
|
|
|
|
|
It specifies the regular stitch size, that is distance between the stitches ends (where the needle goes through the fabric).
Repeat

|
This is the number of overlapped stitches.
|
On Running Stitches, Longitudinal Stitches, etc:
Available options are:
oSmall Steps: Repetition is performed in a stitch-by-stitch basis: step forward, step back and step forward again. oLong Steps: Repetition is performed from beginning to end, repeating all the path backwards and finally forwards.
|
Small steps
|
|
Long steps
|
|

|
|

|
Repeat on Zig-Zag Stitches:
You can can also select the side (A, B, Both) and set a repeat value.
|
It specifies the overlapped stitches to highlight those stitches.
Stitches In

|
This property controls how stitches are placed along the path.
Three options are available:
•Path: Stitches are generated along the path, according to the stitch length. •Reference: Stitches are generated on the nodes only. •Path and Reference: Stitches are generated along the path and in the traced nodes. |
On Paths with Running Stitches
On Paths with Programmable Stitches
|
It defines where the stitches are placed along the path object.
|

|
|
Slant Effects
This effect can be used to highlight or decorate a running stitch.
There are 4 options:

|
oBack-Step Short Stitch oBack-Step Long Stitch oAdvance-Step Stitch oThickness Effect |
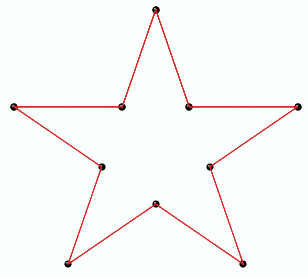
Original Object
|
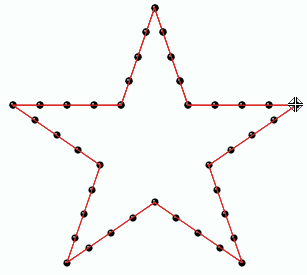
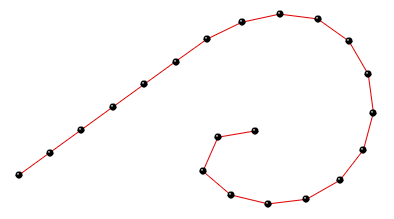
Path + Running Stitches
|
|
Properties:
•Path + Running Stitches •Stitch Lenght = 4.0 mm |
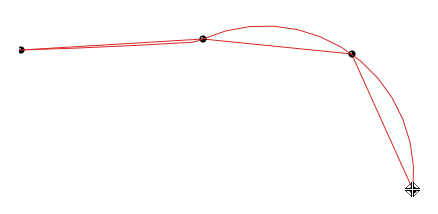
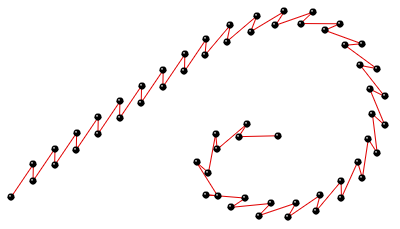
Back-step Short Stitch
|
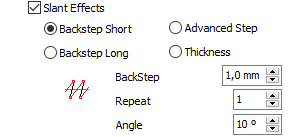
Properties
|
|
▪Angle: It is the value of the slant angle of the stitch. When this value is increased, the stitches will separate from the main reference, being its maximum values between 45º or -45º. ▪Value: It defines the back step value of the new stitch, compared to the original stitch. The higher the value, the closer the stitches. ▪Repetition: Allows to set the number of times that the back-step stitch repeats. Repetitions are enabled if the the property "Small Steps" is enabled. |
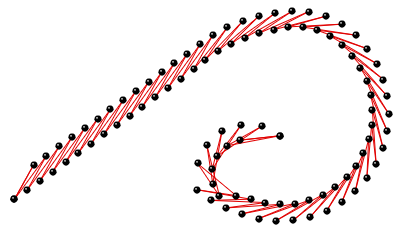
Back-step Long Stitch
|
Properties:
|
|
▪Angle: It is the value of the slant angle of the stitch. When this value is increased the stitches separate from the main reference of the sections, being its maximum values between 45º or -45º. ▪Value: It defines the long step value of the new stitch, compared to the original stitch. The higher the value, the closer the stitches. ▪Repetition: Allows to set the number of times that the back-step stitch repeats. Repetitions are enabled if the the property "Small Steps" is enabled |
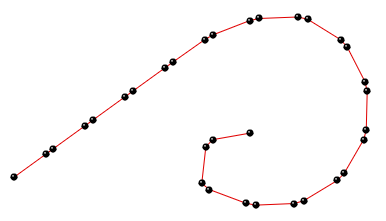
Advance-step Stitch
|
Properties:
|
|
▪Value: It defines the length of the Advanced Step stitch. ▪Repetition: Allows to set the number of times that the advances stitch repeats. Repetitions are enabled if the the property "Small Steps" is enabled. |
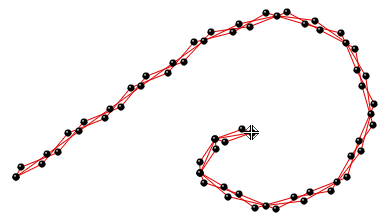
Thickness Effect
|
Properties:
|
|
▪Thickness Value: Desired value of the thickness effect. Possible values of this parameter go from 0,20 mm. to 12,70 mm. ▪Offset: Also called Compensation. It is a percentage value that controls the position of the stitch marks added through this effect. A 0% value implies not producing any offset at all. A value of 50% implies to shift a distance half of the running stitch length. |
|
Repeat and moves the stitches on the path producing several highlight effects.
|
|
|
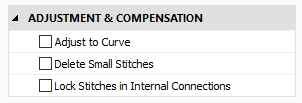
Adjust to Curve
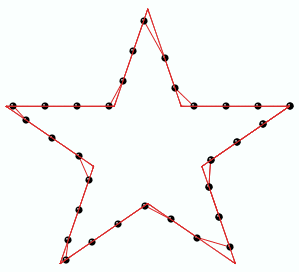
Adjusts the stitch length in order to minimize the difference between the shape of the created object, and the place of the stitches ends.
Available values are:
oNo/Min (disabled) oLow, Medium-Low oMedium oMedium-High oHigh/Max A higher setting means shorter stitches.
|
Adjust to Curve: No
|
|
Adjust to Curve: Max
|
|
|
|
|
|
It reduces the stitch length when necessary so that the stitches approach the path object.
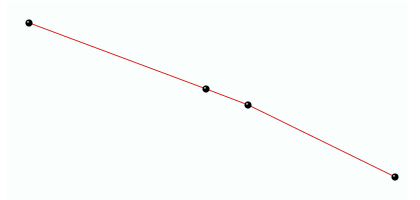
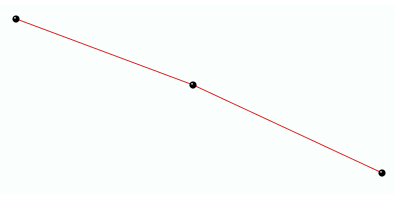
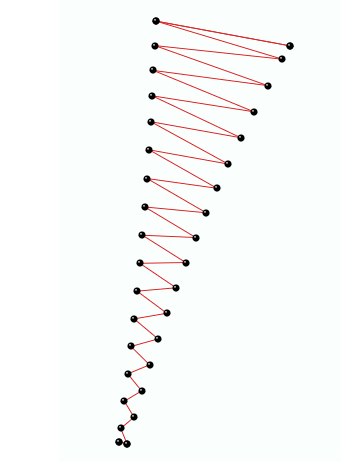
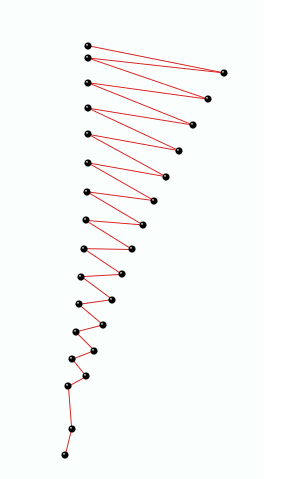
Delete Small Stitches
Filter the small stitches of the object (smaller than the indicated value).
Options are:
oAutomatic: The filter is enabled and the minimum stitch length used is the general value set in Options And Preferences. oUser defined: The system will delete stitches shorter than the indicated value. Sample of Delete Small Stitches: Path with Running Stitches
|
Before applying the filter
|
|
After applying the filter
|
|
|
|
|
Sample of Delete Small Stitches: Column with Zig-Zag Stitches
|
Before applying the filter
|
|
After applying the filter
|
|
|
|
|
|
It deletes the stitches that are smaller than a predefined value (unnecessary & inconvenient).
Lock Stitches in Internal Connections
Insert tack-down stitches to prevent unfixed stitches when connecting far parts of the object.
Types of Lock Stitches are:
oClassic oStar oTwist oCross oArrow Properties:
•Length: Specify the lock stitch length for Classic type. •Scale: change the size of the lock stitch. •Repetition: Define the number of times to repeat the lock stitch.
|
It adds stitches to fix the thread, recommendable on thread trims and color changes.
|
Read also
•Concepts about the PATH object.
•Concepts about Classic Digitizing.
