|
|
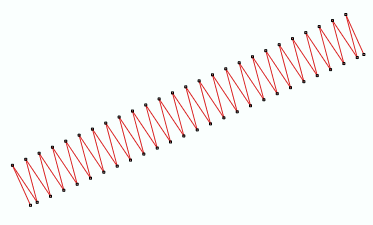
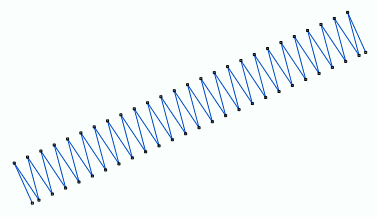
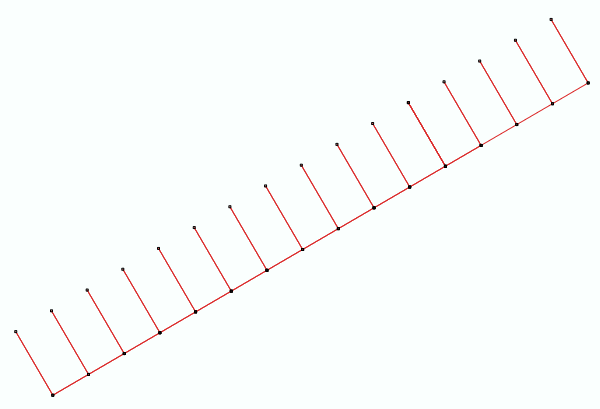
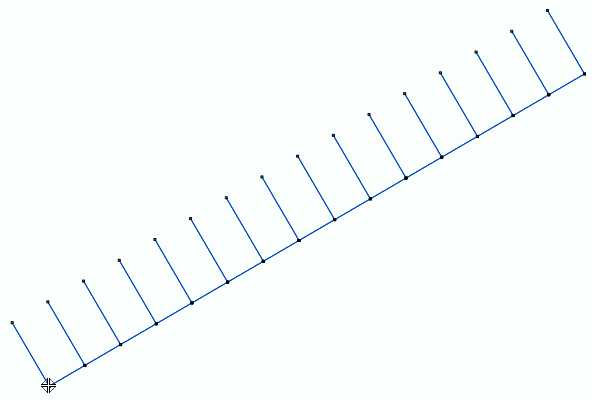
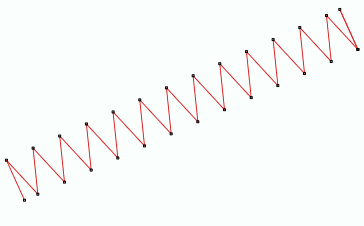
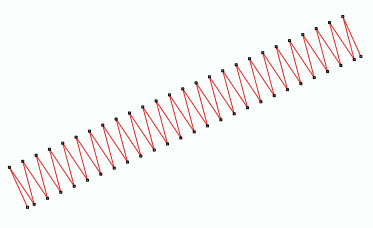
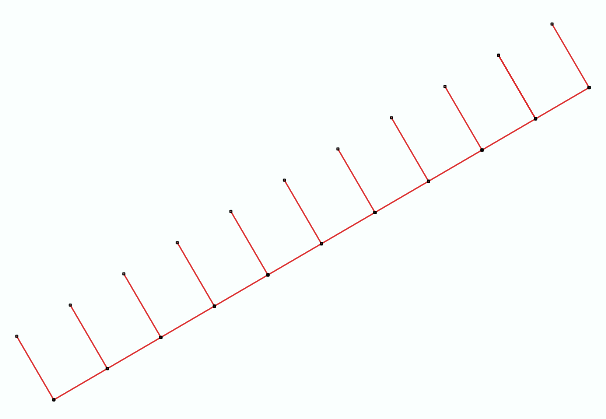
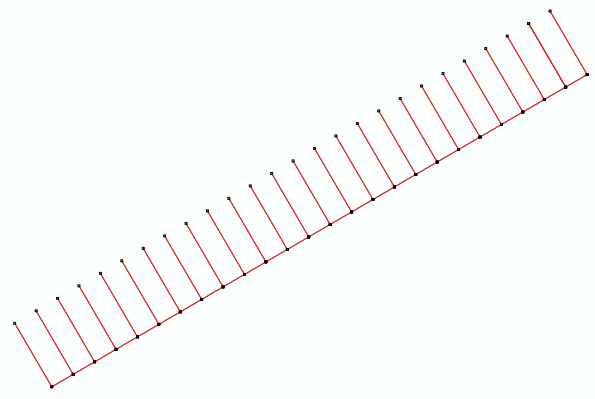
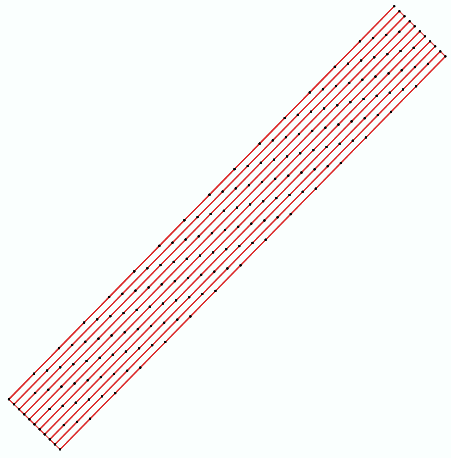
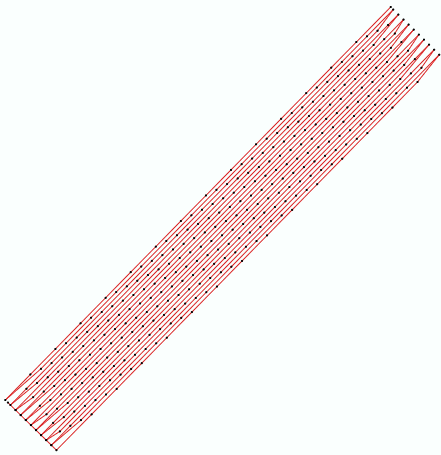
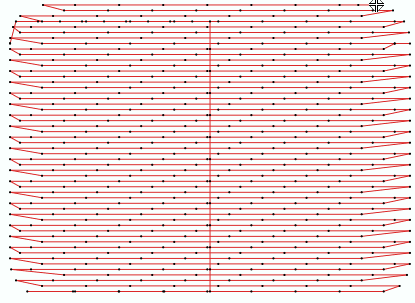
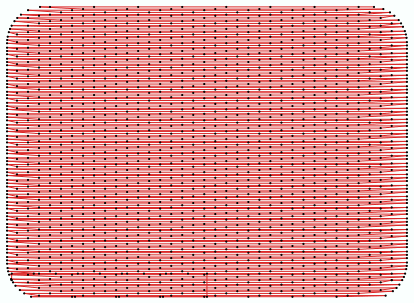
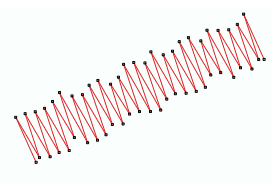
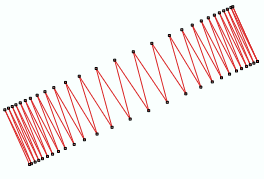
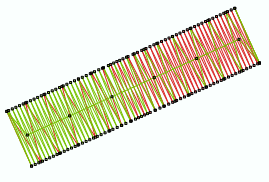
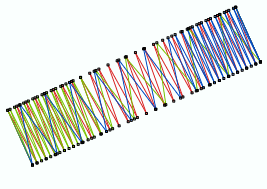
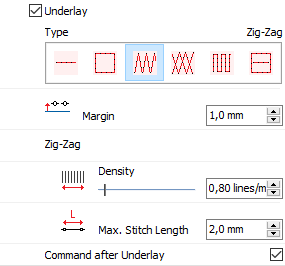
Underlay is also known as base layer. It is used to tighten the fabric enough to avoid its deformation when stitching on it. The underlay stitches should remain hidden under the main fill.
You can select the proper type of underlay and its properties according to the fabric / material and the design properties. Underlay types include: centered, edge, zig-zag, parallel, etc.
|
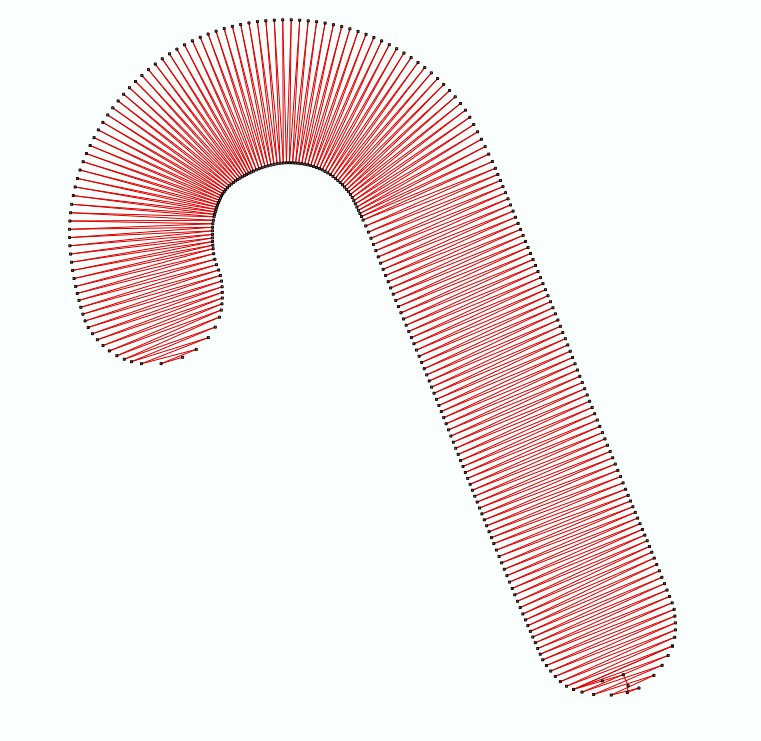
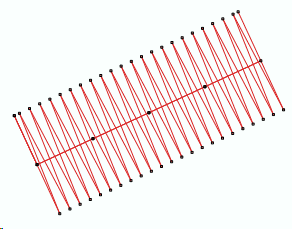
Centered Underlay on Path with Zig-Zag Stitches
|
|
|
|
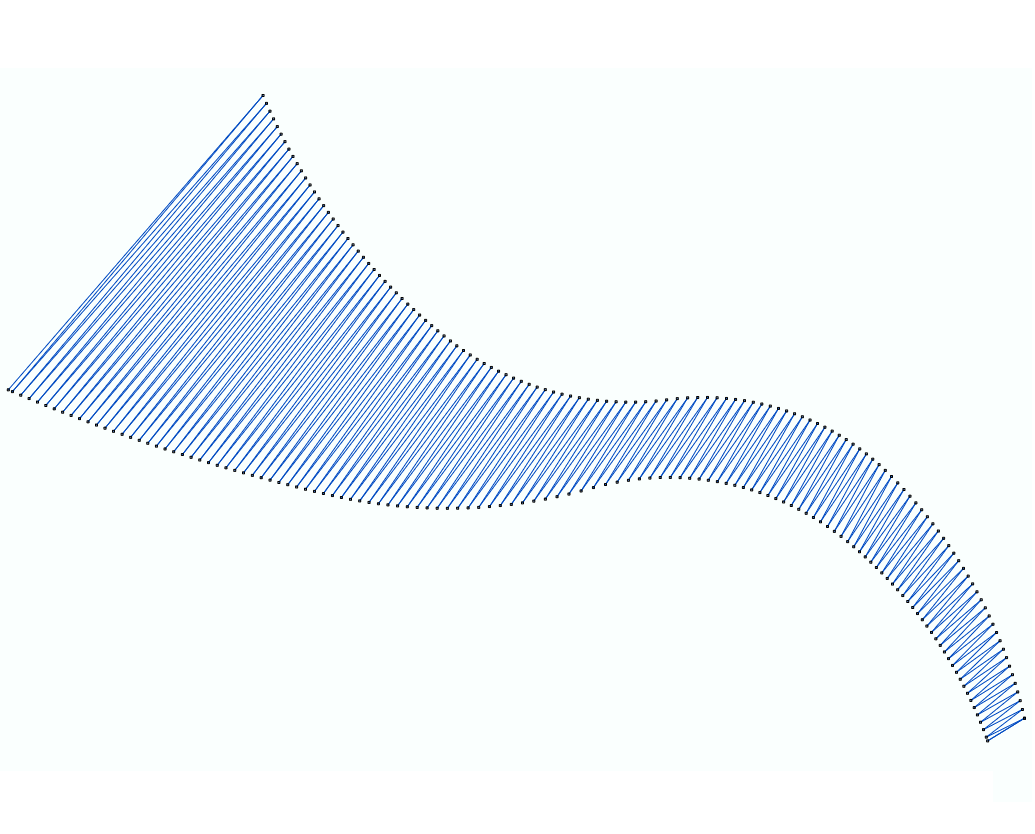
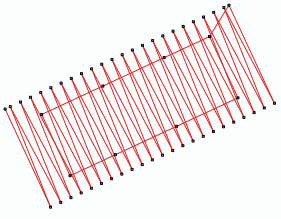
Edge Underlay on Path with Zig-Zag Stitches
|
|
|
|
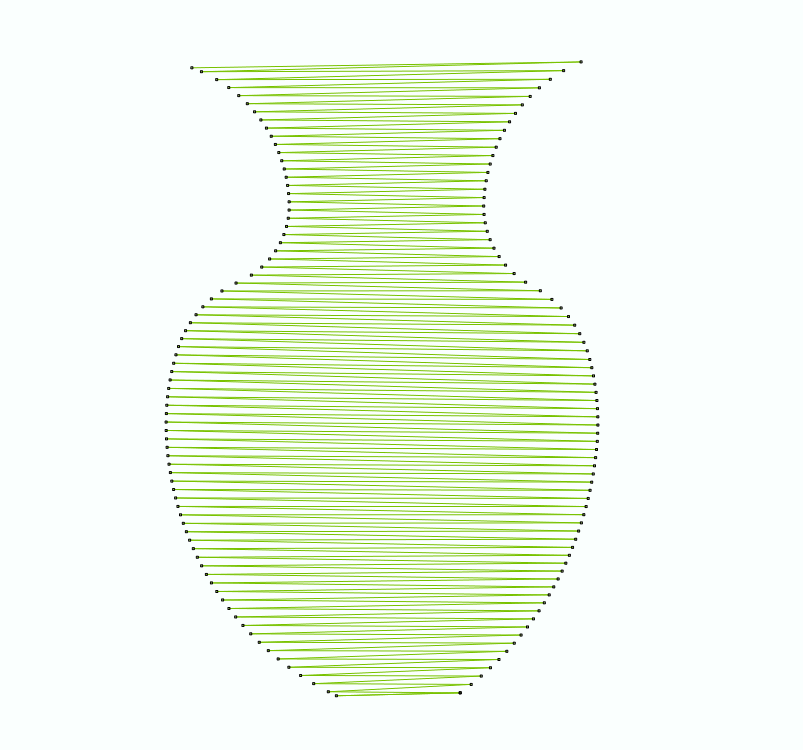
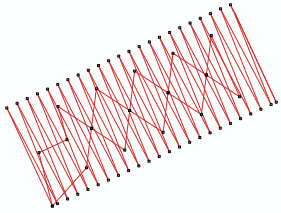
Double Zig-Zag Underlay on Path with Zig-Zag Stitches
|
|
|
|
Hidden layer of stitches to tighten fabric enough to prevent warping.
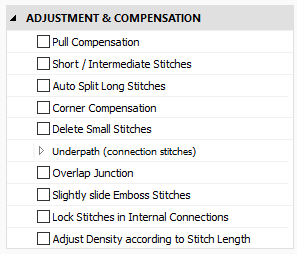
Correct the fabric shrink effect (caused by several factors, such as the stitch density, the type of fabric, the thread pull, etc) by by enlarging the stitches that tend to shrink when being embroidered. Basically, the stitches are stretched on their ends.
Properties are:
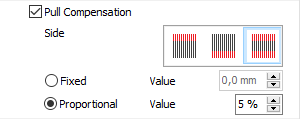
•Side: You can select the side (A, B, Both). Recommended value is Both.
•Type: Fixed or Proportional:
oFixed: You can set a fixed value, independent of the stitch length.
oProportional: This type varies according to the stitch length.
|
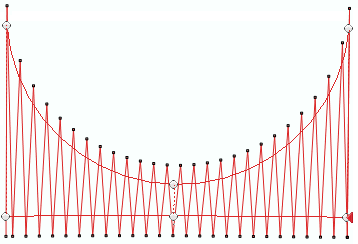
Fixed type, Value: 0.6 mm
|
|
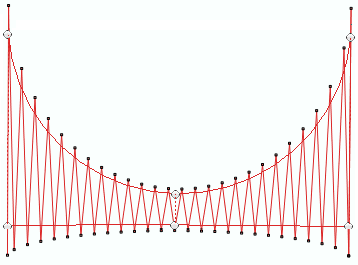
Proportional Type, Value: 15%
|
|
|
|
|
|
Enlarge stitches to prevent shrink effect because of the thread tension.
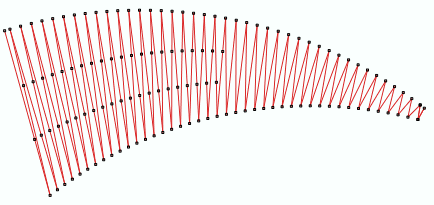
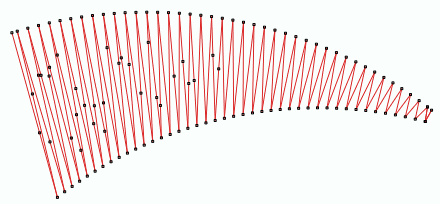
Compensate the lack and the heaps of stitches when the stitch direction of Zig-Zag stitches changes noticeably (sharp curves). The program creates intermediate stitches in curves or tight corners to avoid an unnecessary amount up of stitches (in the smaller edge) and spaces (in the larger edge). Intermediate stitches are only created if the object requires it (trigger at threshold).
Properties are:
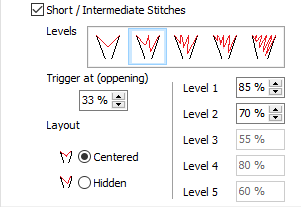
•Levels: The maximum number of intermediate stitches to create when required.
oLevel Value: Distance of the intermediate stitches, relative (percentage) to the stitch length.
•Layout options: centered or hidden
oCentered: intermediate stitches will be centered between the last and the next stitch.
oHidden: intermediate stitches will be orientated towards the next stitch.
•Trigger at: Set the minimum opening value (larger side / smaller site) to create intermediate stitches.
|
Levels: 1, Value: 85%, Trigger: 70%
|
|
Levels: 3, Value: 85%, Trigger: 70%
|
|
|
|
|
|
Add intermediate stitches in sharp curves to prevent an unnecessary amount up of stitches.
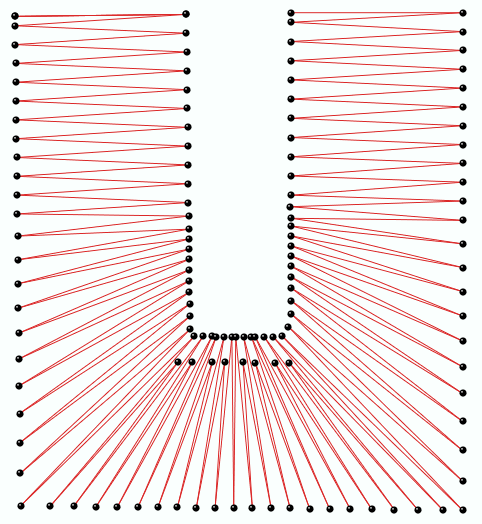
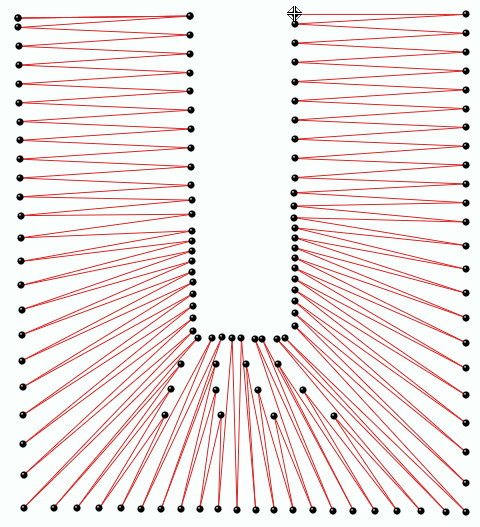
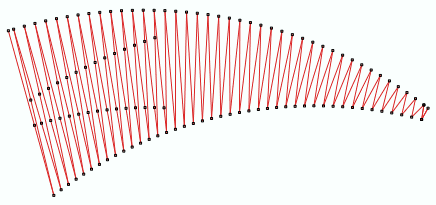
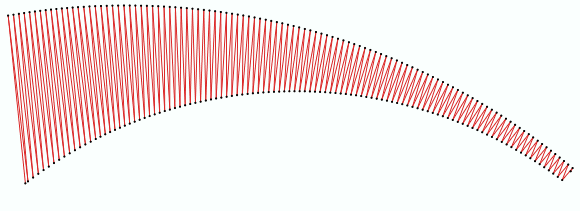
Split stitches in several parts on Zig-Zag stitches, when the stitch length exceeds the indicated value. It offers an approximation to the Zig-Zag style on objects that are wider than recommendad for Zig-Zag.
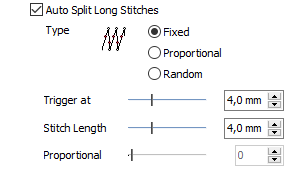
Auto Split types are:
oFixed: Stitches are split according to a fixed length. The defined value does not change along the stitches.
oProportional: Uses a percentage to split the stitches.
oRandom: Applies a random distribution on the split divisions.
Properties:
•Trigger at: Allows to set a value in which the split stitches will be applied.
•Stitch Length: It is the value (displayed in mm) that shows where the stitch splits.
•Proportional: It is the value (displayed in %) that shows where the stitch splits.
|
Fixed Split
|
|
|
|
Proportional Split
|
|
|
|
Random Split
|
|
|
|
It splits stitches when the stitch length exceeds the established value.
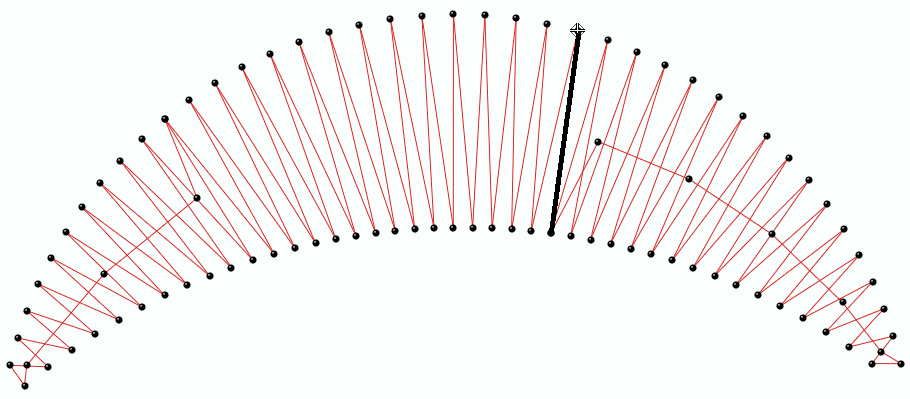
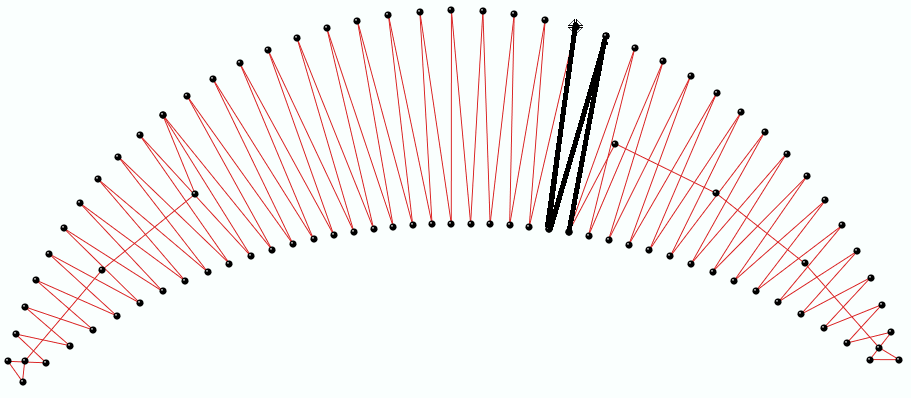
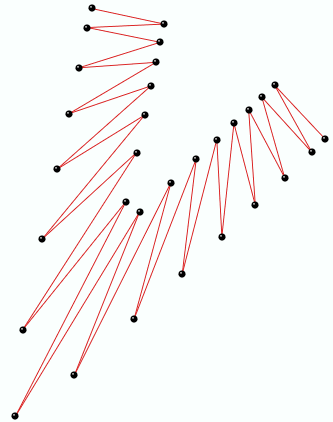
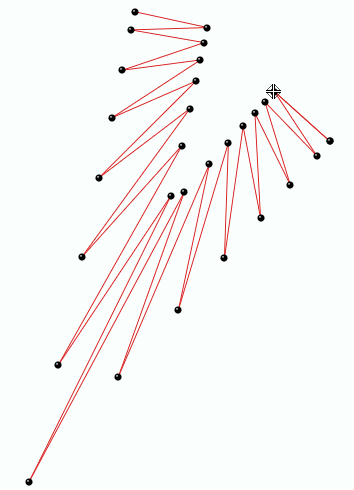
Compensate the corners by pulling the stitches automatically. It improves the result in objects with corners with sharp angles.
|
Disable Corner Compensation
|
|
Enable Corner Compensation
|
|
|
|
|
|
Compensate sharp corners by pulling stitches automatically.
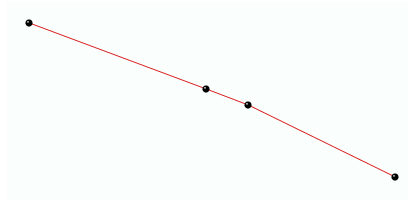
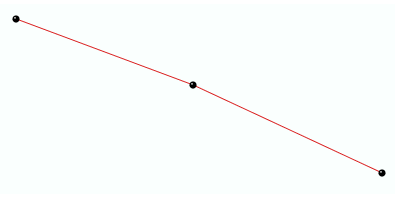
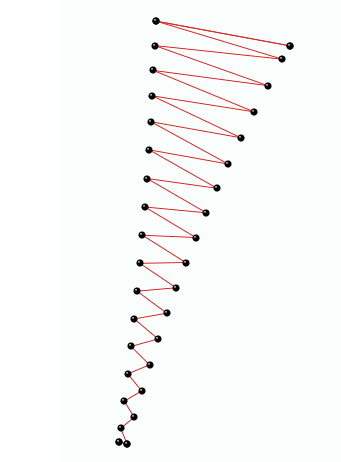
Filter the small stitches of the object (smaller than the indicated value).
Options are:
oAutomatic: The filter is enabled and the minimum stitch length used is the general value set in Options And Preferences.
oUser defined: The system will delete stitches shorter than the indicated value.
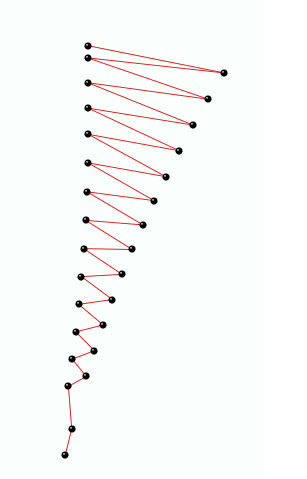
Sample of Delete Small Stitches: Path with Running Stitches
|
Before applying the filter
|
|
After applying the filter
|
|
|
|
|
Sample of Delete Small Stitches: Column with Zig-Zag Stitches
|
Before applying the filter
|
|
After applying the filter
|
|
|
|
|
|
It deletes the stitches that are smaller than a predefined value (unnecessary & inconvenient).
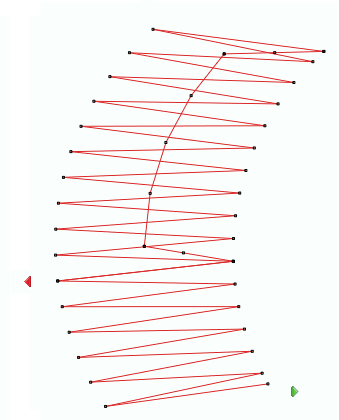
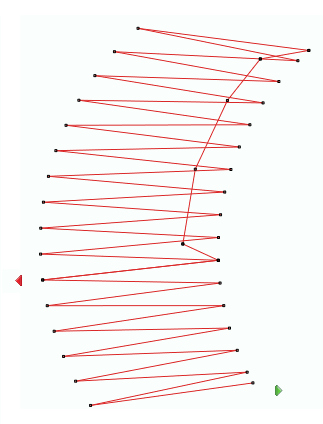
Internal path or sequence of stitches automatically generated by the program required to travel from one location of the object to another one (connections of regions) while producing the stitches of the object in order to avoid long jumps. Those stitches will be hidden under the main fill.
Available options are:
oCenter Walk: The position of the under is set to the center (for normal density fills).
oEdge Walk: The position of the under is set at a certain distance from the edges (for low density fills).
Properties are:
•Stitch length: Defines the stitch length of the under path. The higher the value, the greater the stitches are apart from each other.
•Edge Distance: Defines the distance of under path to the edge.
|
Center Walk, Stitch Lenght: 1.0 mm
|
|
Edge Walk, Distance: 0.7 mm
|
|
|
|
|
|
Not visible internal connections (paths) between different parts of a complex area.
Number of stitch or lines that will overlap on 2 adjacent regions of an object.
When the program divides the object in regions to fill with stitches (usually when considering the entry and exit point of the object), the limit between both regions may result in unfilled spaces when sewing the design. This property adds more stitches to avoid or compensate that undesired effect.
The value is generally 1 line, but according to the type of fabric to sew you might have to consider increasing this value.
|
Overlap Lines: 1
|
|
Overlap Lines: 2
|
|
|
|
|
|
Number of stitches or stitches lines that will overlap to prevent empty spaces inside an object.
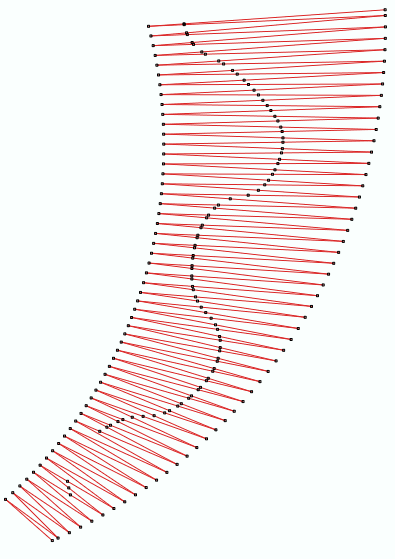
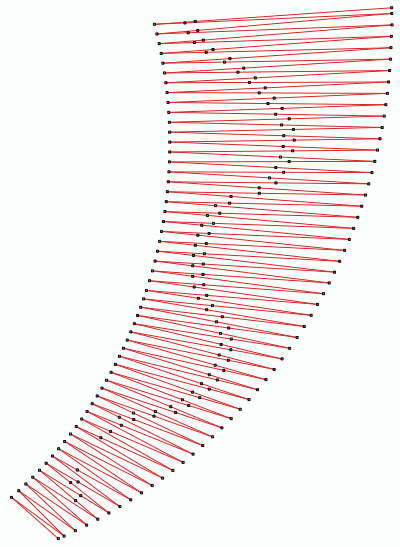
It slightly moves the end of the stitch corresponding to the emboss effect according to the stitch directions. This property avoids accumulating needle penetrations too close which negatively affect the emboss effect.
|
Disable Slide Emboss Stitches
|
|
Enable Slide Emboss Stitches: 0.2mm
|
|
|
|
|
|
It moves the emboss line of the object.
Insert tack-down stitches to prevent unfixed stitches when connecting far parts of the object.
Types of Lock Stitches are:
oClassic
oStar
oTwist
oCross
oArrow
Properties:
•Length: Specify the lock stitch length for Classic type.
•Scale: change the size of the lock stitch.
•Repetition: Define the number of times to repeat the lock stitch.
|
It adds stitches to fix the thread, recommendable on thread trims and color changes.
This tool offers an automatic control of the relative density according to the stitch length, for zig-zag stitches. It offer a compensation when the stitch length is small (stitch points tend to lay too close, producing higher thread break rates) and also when the stitch length is large and consecutive stitches won't cover the area properly.
|
Disable Adjust Density vs Stitch Length
|
|
Enable Adjust Density vs Stitch Length
|
|
|
|
|
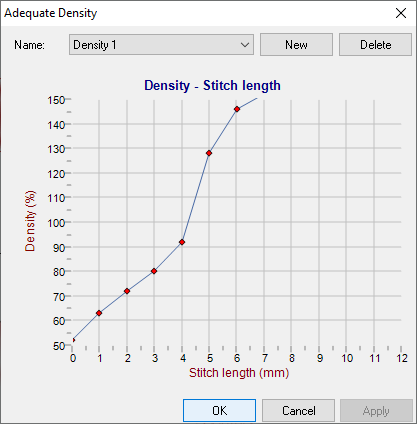
Definition is made by building a curve that indicates density variation (in % of the object density) for all normal stitch lengths values (0 to 12 mm).
To customize the control of the density acording to the stitch lenght, open the Density Adjustment editor from the ToolsTab Embroidery > Settings group > "Density Adjustment".
The Density Adjustment editor shows:
•X axis: stitch length
•Y axis: density variation (in %)
You can also select a previously defined schema and create new ones.
The curve should be interpret as:
When the length of the stitch is XX mm, then change the density by the relative value YY %.
|
It defines a density vs stitch length compensation.
|
