New in version 23.20 (i20) - Embroidery
New options for Vector Texts
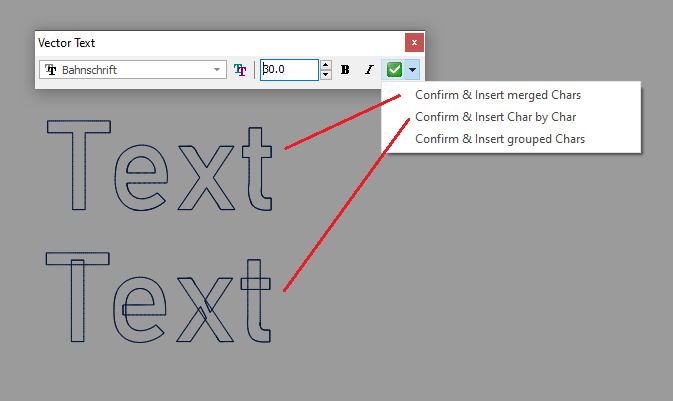
By confirming a vector text you can now insert it into the layout with different strategies:
•As merged characters: The text is inserted into the layout character by character, merging the objects that make up each TrueType character.
•As characters: The text is inserted character by character, keeping the objects as they are in the TrueType font.
•As grouped characters: This is the standard option available in previous versions. The text is inserted as a single grouped object, keeping the TrueType font elements as they are.
The new options allow outlines more suitable to be converted into embroidery objects in a single step.
Smart Paths Scaling
When proportionally scaling a path type object with zig-zag, E, EE or square stitch filling, the width of the filling is scaled along with the geometry of the path.
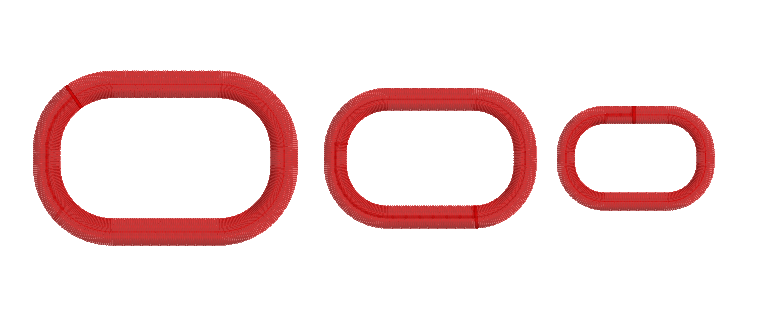
This mode can be deactivated from the Configuration, Create & Edit > General > Scale path widths while scaling its shapes.
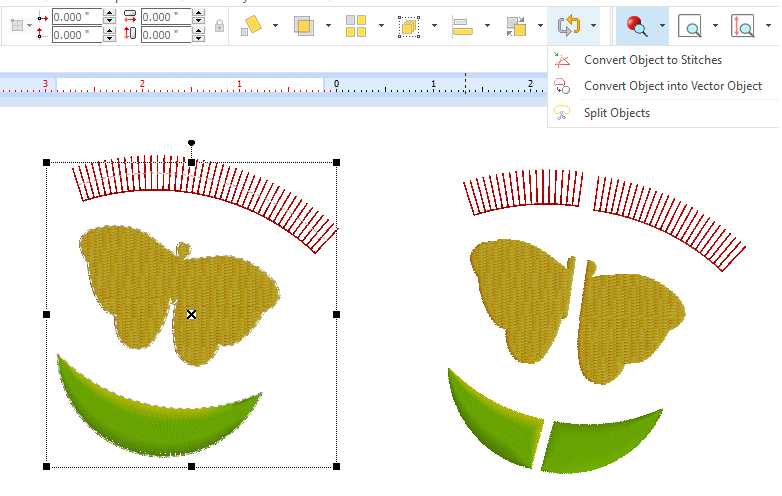
New command: Split object block
This command allows you to divide a group of embroidery objects by an arbitrary line.
It is possible to split all types of embroidery objects except columns.
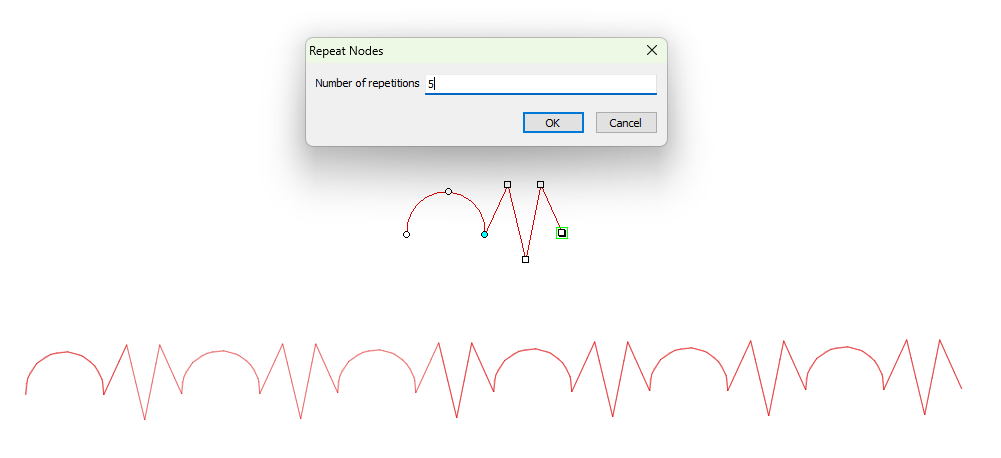
New function: Repeat Nodes
This new function allows repeating the whole set of nodes created, starting from the last one, preserving their relative position and properties (straight, curved, normal, corner).
New Paste Option: Paste Cursor
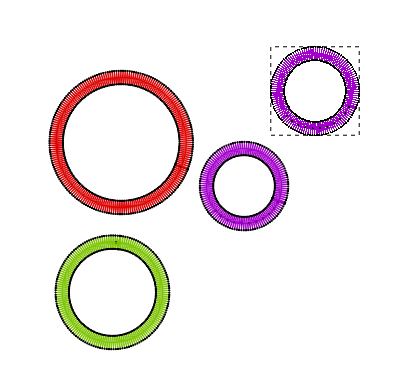
We have added a new option to the Paste command: Paste Cursor. After using Copy on an object or group of objects, when you select Paste Cursor, the objects are duplicated and "stuck" to the cursor for you to place them where you want until they are finally inserted in the place where you make click.
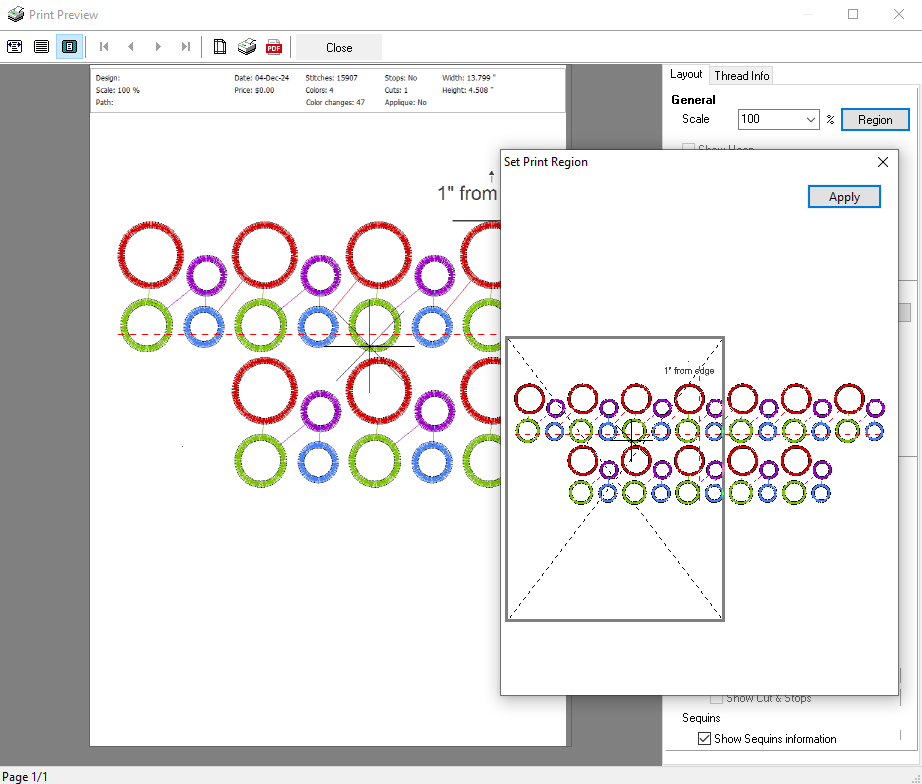
New Print option: Print Region
We have incorporated a new printing option which allows a defined region of the design to be printed on a single sheet at a scale of 1:1. We have also added the possibility of printing the Annotations you include in the design, so that the combination of these two new features allow you to create printouts to indicate specific details to be considered during production.
New command: Show Node Sequence
In some contour editing tasks it is convenient to know the sequence in which the nodes were created.
This command points out, with a small symbol on each node, the direction of the creation sequence.
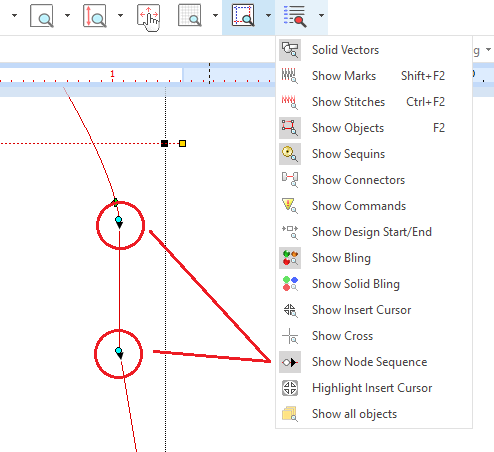
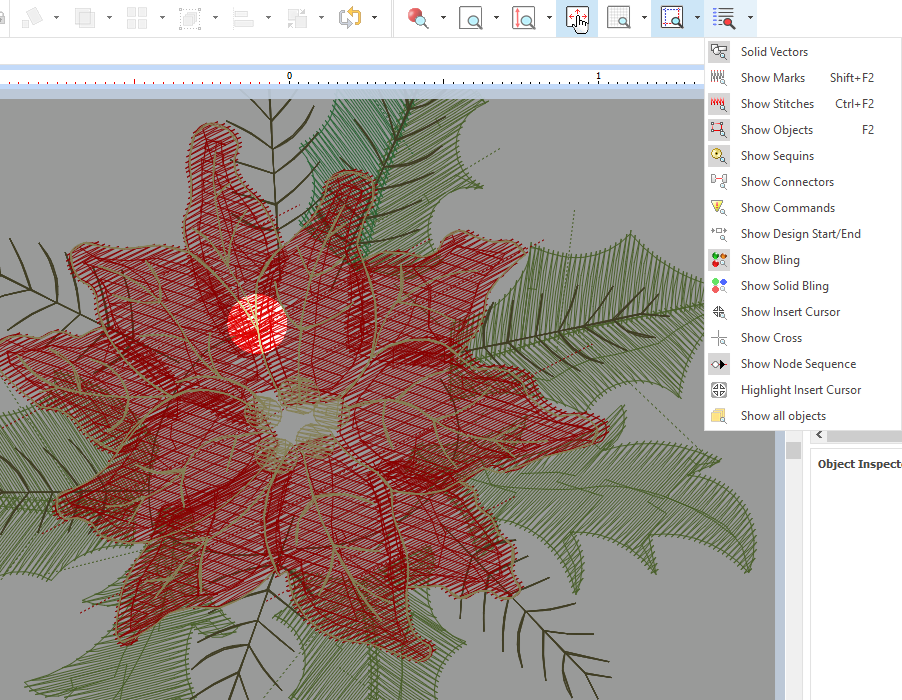
Highlight Insert Cursor
The sequence of objects is very important in embroidery designs. The Insert Cursor indicates precisely the exit point of the object from which any new object will be inserted into the embroidery sequence. Usually, during the creation process, the Insert Cursor is located at the end of the last object created. However, sometimes it is necessary to relocate it to add an object in the middle of the sequence and in designs with many objects, it can be difficult, after several edits, to determine the position of the cursor. For this reason we have introduced this new command, which clearly highlights the Insert Cursor, making it easier to locate.
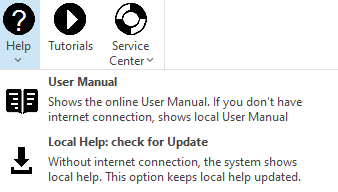
Easy access to online Help
We have included a new command to access directly to the main index of the online Help. It is located in the drop-down menu of the Help button at the Help ribbon.
New sequin fixing styles
Some new fixing stitch styles for centered and off-center sequins have been included.
Improvements in version 23.20 (i20)
User Interface
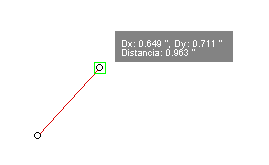
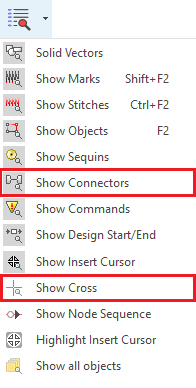
• In stitch editing mode, it is now possible to navigate using the cursor keys Right - Left and Page Up - Page Down, skipping a number of stitches configurable in Options (Create & Edit > Stitch Editing) for each set of keys. •The distance and position tool-tips when creating and editing nodes can now be disabled from Options (Create & Edit > General > Show tooltips while creating and editing nodes). •In the Thread Palette, after assigning a color, the next item in the palette is now automatically selected, facilitating the operation of assigning several colors. •We have added the command to display the crosshair cursor to the Show drop-down menu, and improved the display of connectors, including the initial and final ones. •Automatic scrolling in the embroidery object sequence view, allowing the object that has been selected from other views to always be visible. •Snap to Grid mode is now automatically disabled when hiding the grid. |
General
•The Installation Wizard now allows a complete removal of the product when uninstalling, allowing a reinstallation in "first time" conditions. •The Support Contact Wizard now allows you to select the folder where to download the report and the connection mechanism to our servers when sending the report online has been improved to make it more robust to antivirus and firewalls. |
Fixes in version 23.20 (i20)
•The behavior of the Delete key when using text objects was fixed.
•Fixes regarding the problem with the thread palette when opening a DSG file from Embroidery Explorer
•Fixed the error in the Parallel underlay for column type objects. When selecting this type underlay, a Double ZZ underlay was applied instead.
•Minor adjustments to interface texts in some languages.
•For Subscription products, the component gallery no longer shows the optional components, since it is not possible to purchase them in this licensing mode.
•Minor repairs in the machine connection tool, Machine Manager.
