User interface improvements
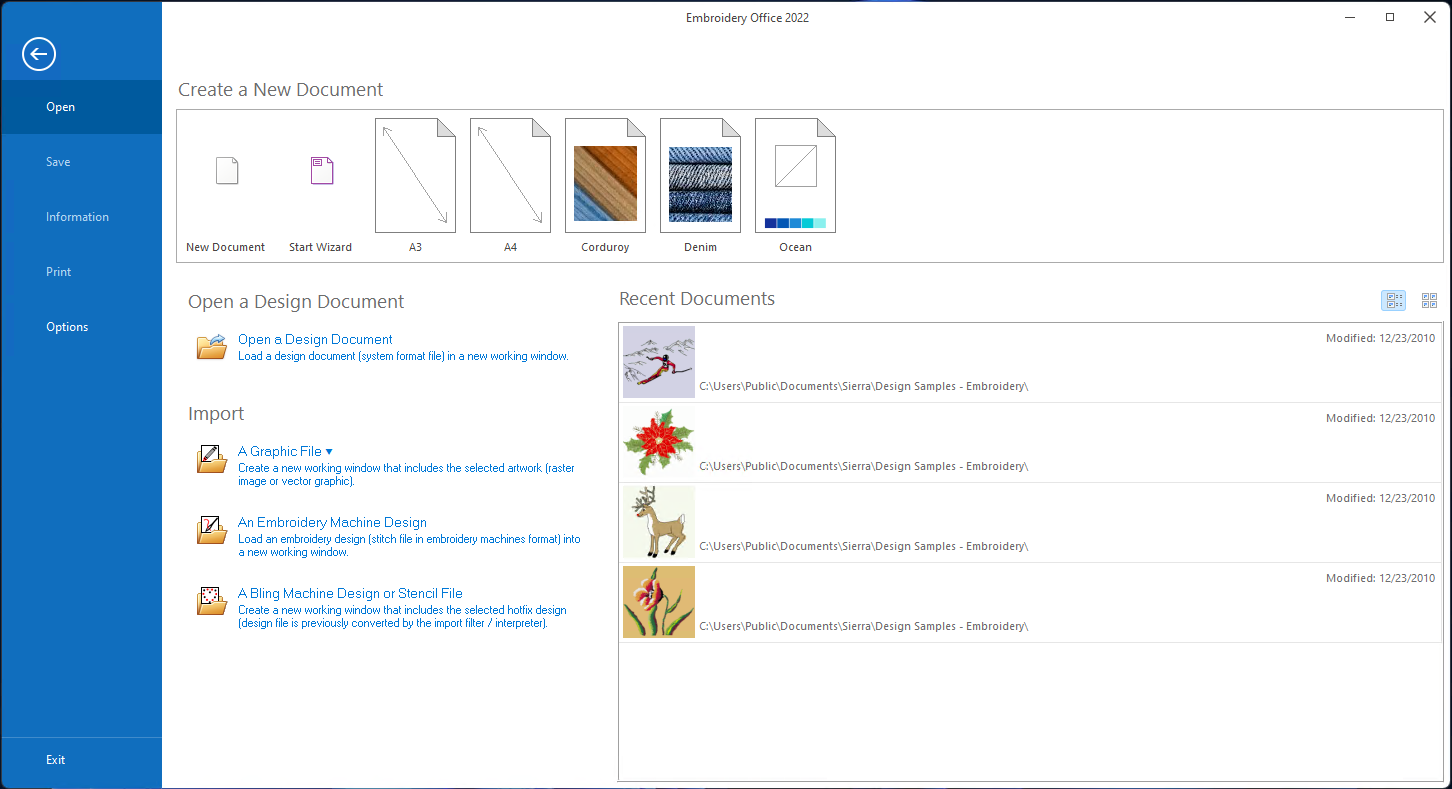
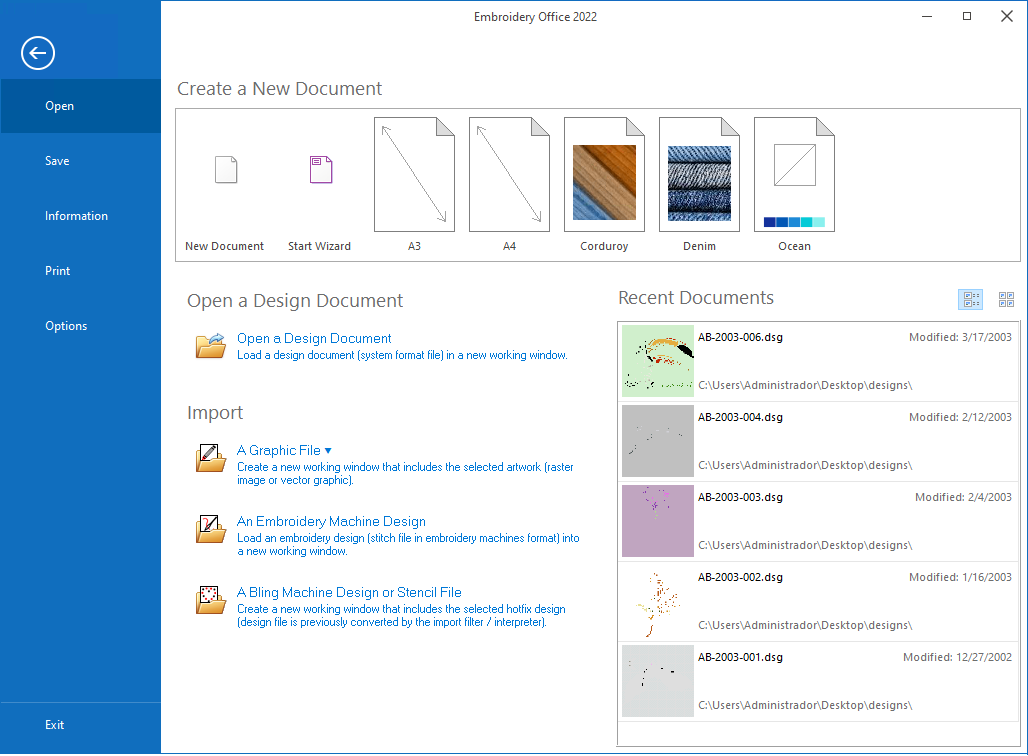
Redesign of the File New/Open page, including template presets.
|
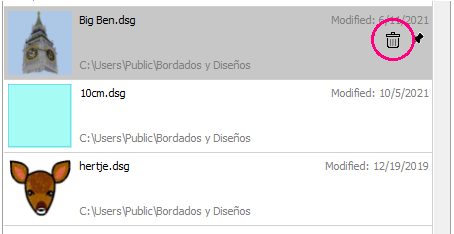
The "delete" function of the recently used design list appears when the selected design has the focus.
|
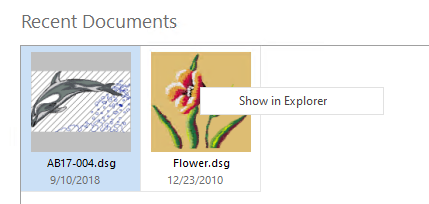
Embroidery Explorer can be opened by right-clicking on the folder where a design is saved in the list of recent documents.
|
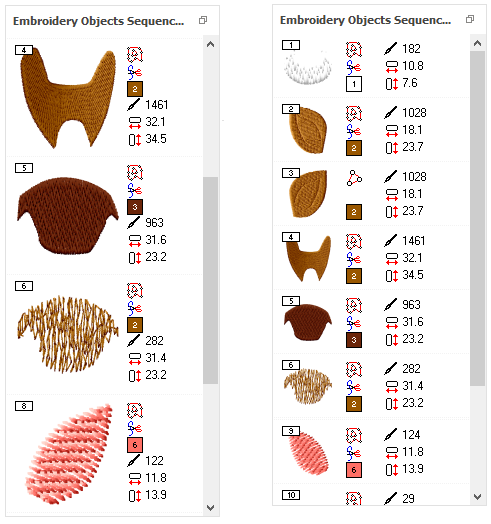
Improved display of the graphical sequence list of embroidery objects.
|
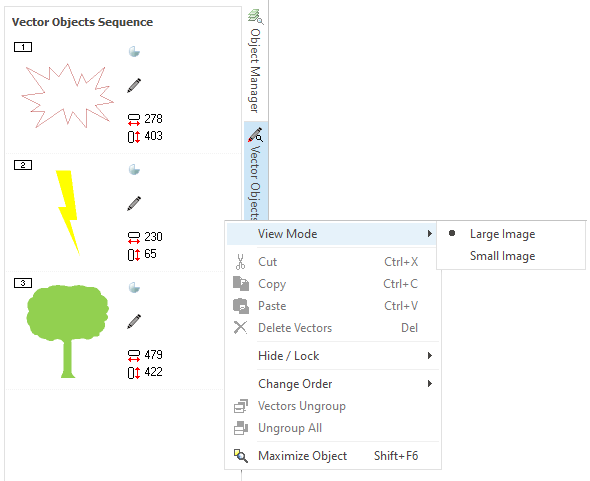
Improved display of the graphical sequence list of vector objects.
|
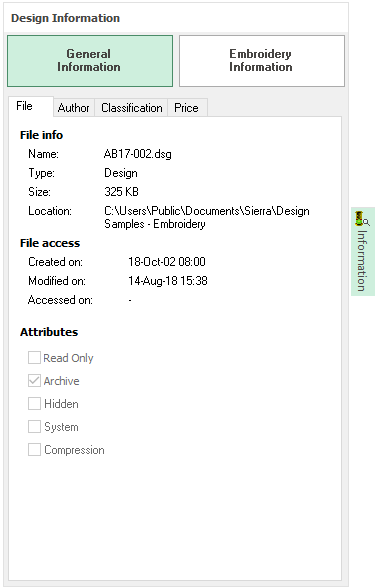
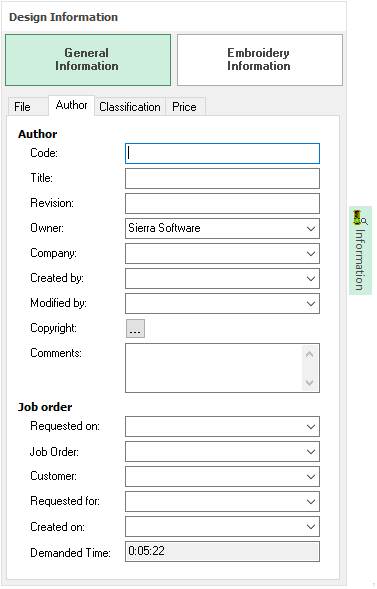
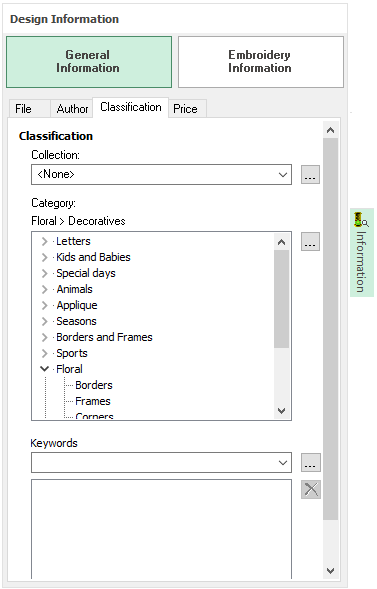
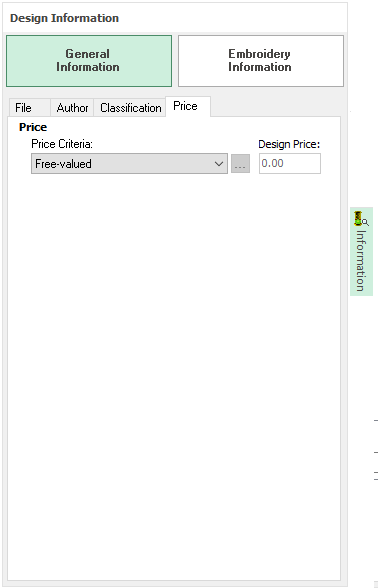
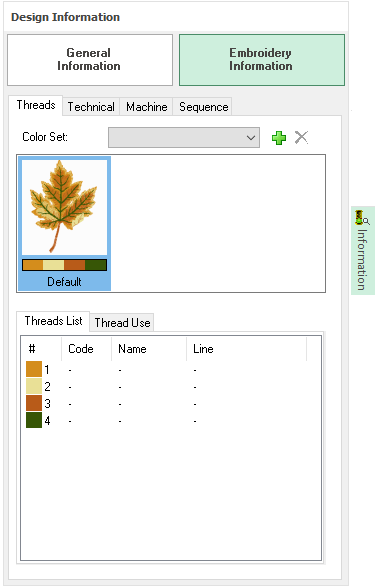
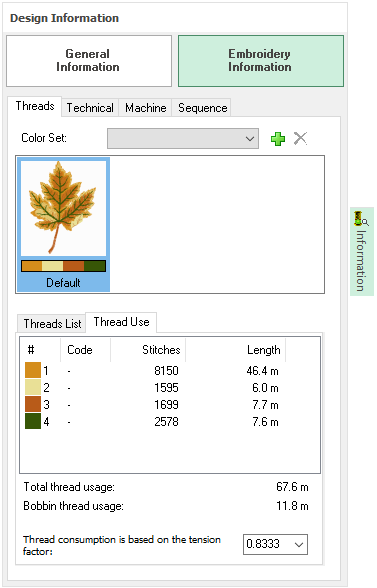
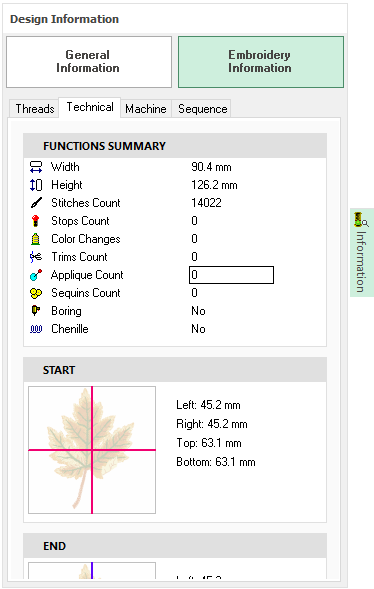
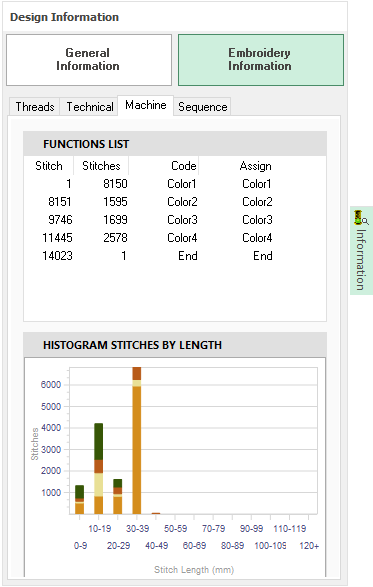
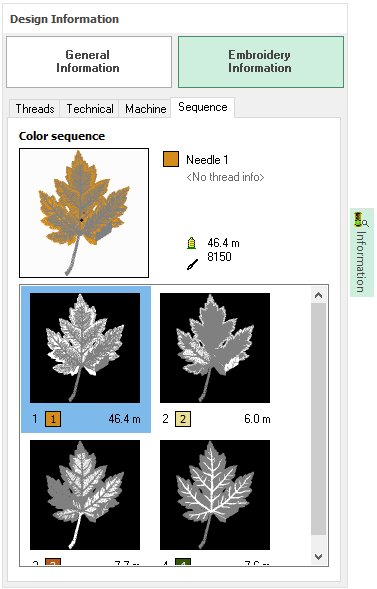
Design properties were moved from the Info Card to the Design Properties Panel, with information better organized and more easily available at any time. The content is synchronized with the active (running) design. General Information
Embroidery Information
|
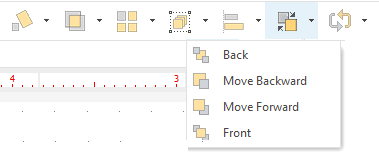
The main toolbar has been completely redesigned, adding frequently used functions, taking advantage of its central location. The change is not limited to a reorganization, but attempts to shorten the steps for performing many common functions.
Catalog (images, designs, memories, etc.)
Ongoing activity (creation, objects editing, stitch editing, sequin labeling, etc.)
Object and block functions (dimension, rotate, combine, repeat, repeat, group, align, sort, convert)
Display functions
|
The following function groups are now available at any time in the main toolbar.
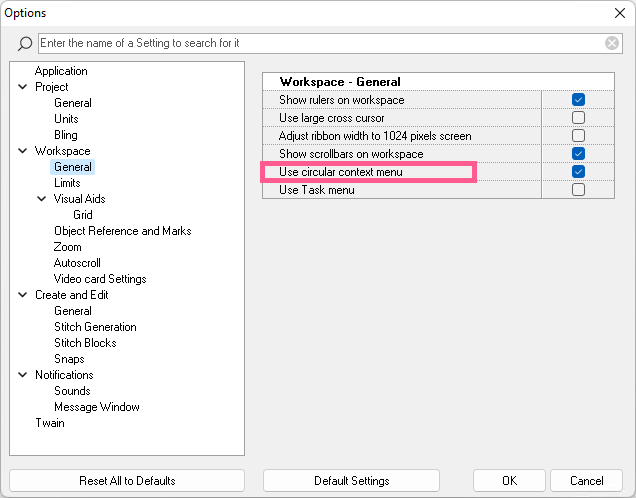
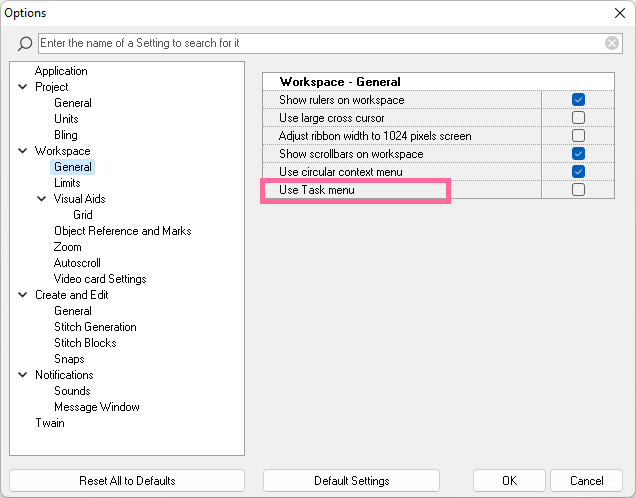
In previous versions of the software, many of these functions were included in the "Block Menu" (version 20) or in the "Layout" tab of the tool ribbon. The new location of these tools allows to speed up the steps to perform the corresponding tasks, as well as to facilitate learning because of their new organization. Now, changing the size of an object or a block of objects of any type of decoration or combination can be done by simply changing the values of that object or block from the main toolbar, without the need to open any other menu or tool. While the new location of these tools is still the same, for those users who prefer to continue using the Block Menu, this can be reset through the Options and Preferences form. |
|
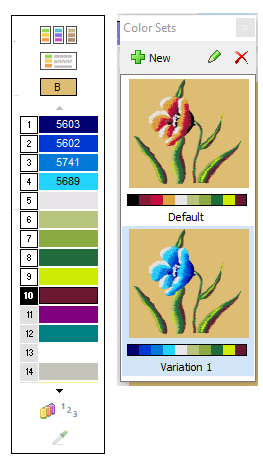
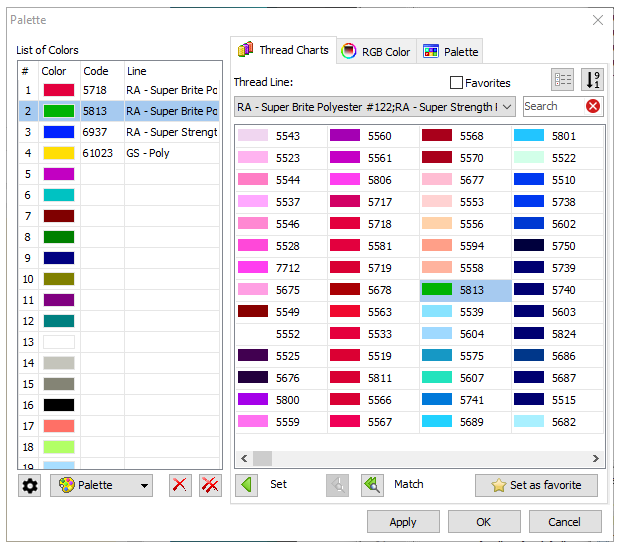
Among other things, you can change the order of the color list (left) by dragging the items in the list.
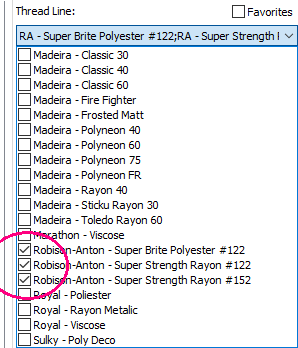
Thread lines used: Multiple Selection
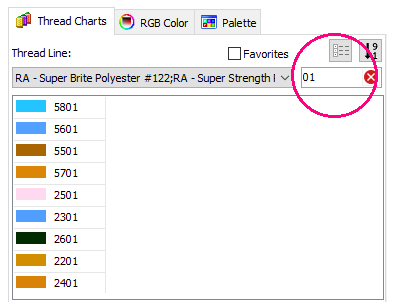
Color search by code (autosearch)
|
|
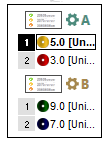
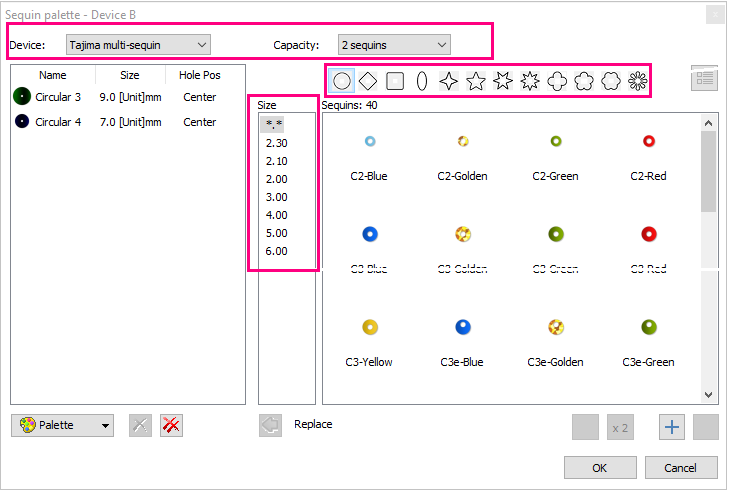
Sequins are numbered from 1 to 8. Devices are assigned the letters A and B.
|
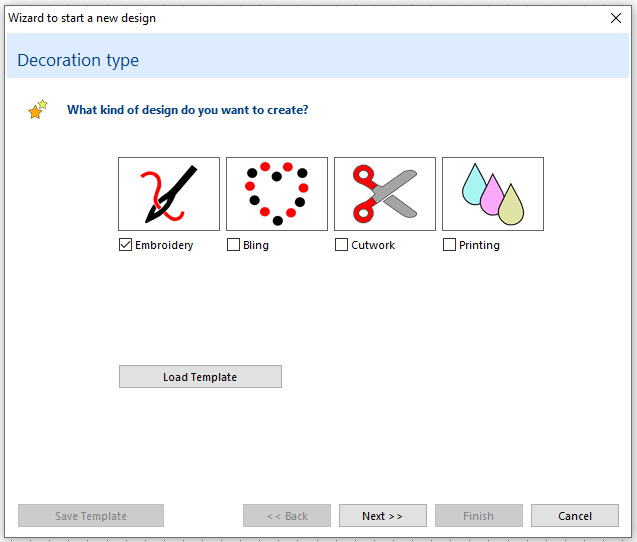
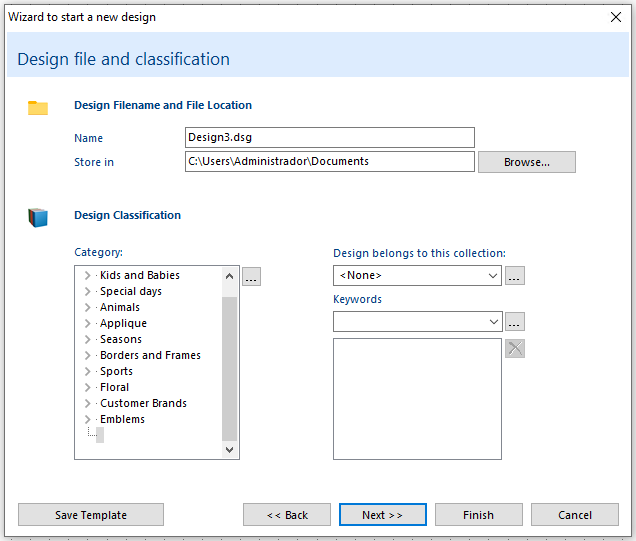
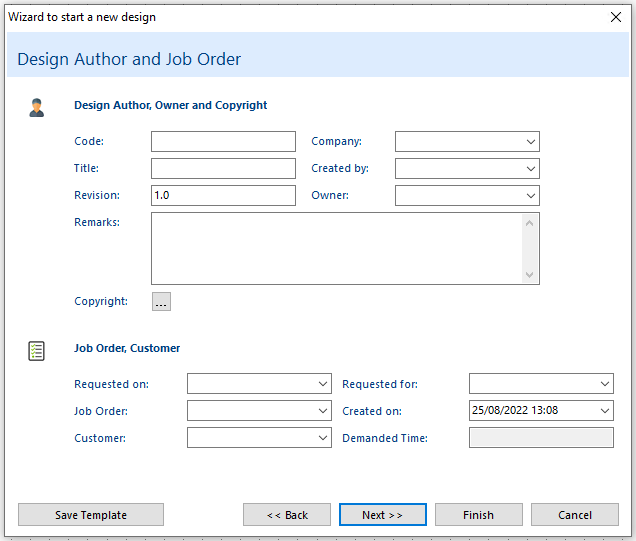
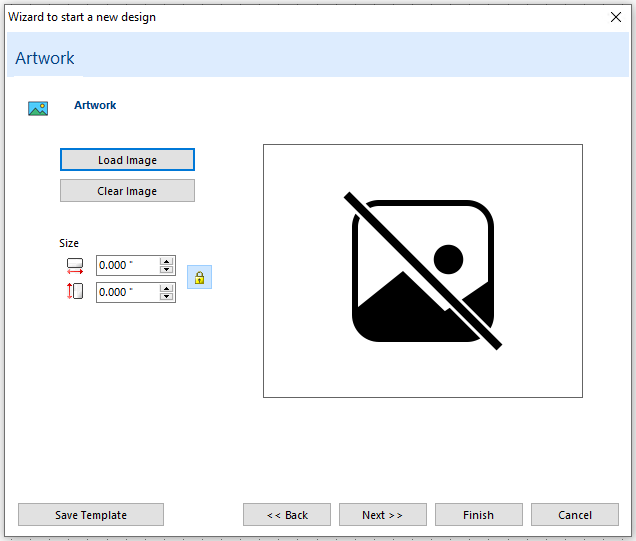
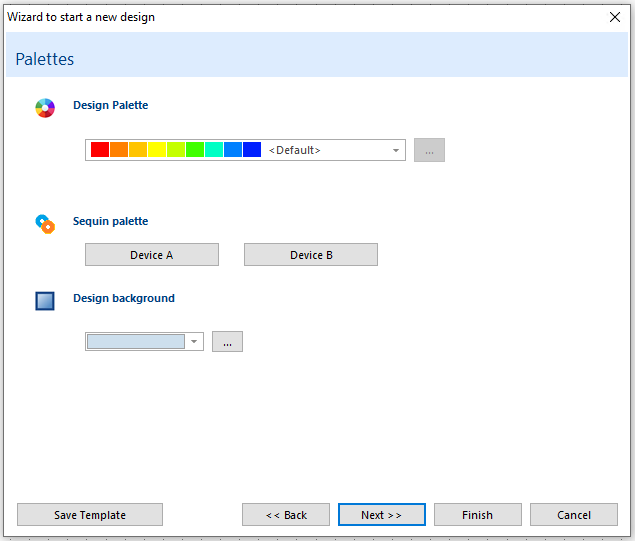
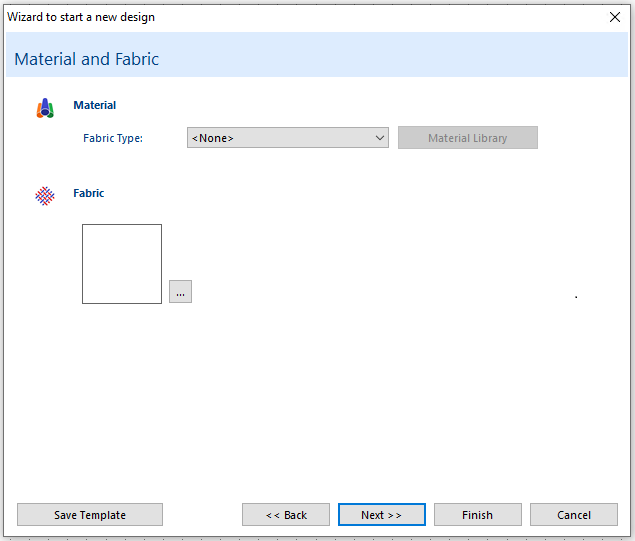
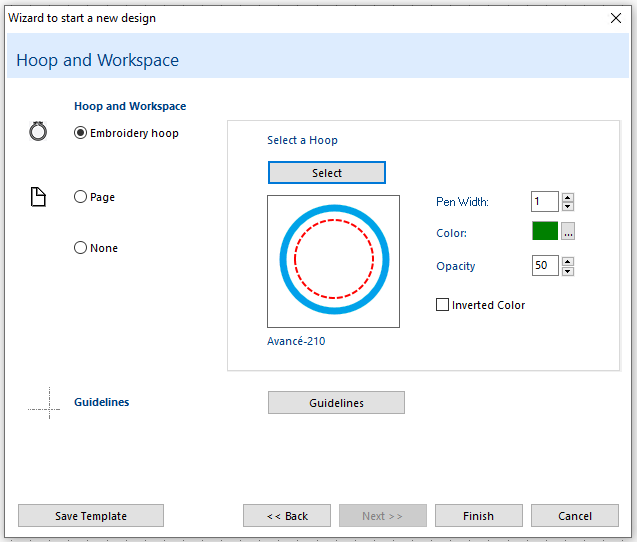
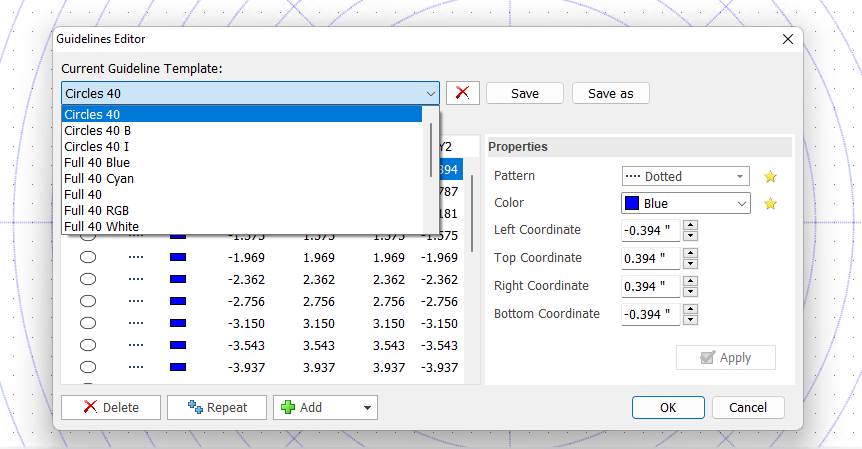
The wizard for starting the design has been improved, both in sequence and content. The user can define certain features of the design before starting the design. After completing the wizard, the user can focus exclusively on digitizing the design, and save or export it upon completion. The features that can be defined in the wizard include file properties (names, storage, authorship, category, etc.), decoration specialties (creation tools, color palettes, etc.), display settings (frames, guide lines, etc.) and also the image to be digitized. It is not absolutely necessary to define all the properties (in fact, the user may not use the wizard to start the design), as each of these properties can be defined at any time during the design process, or before saving the design.
|
|
|
Digitizing functions
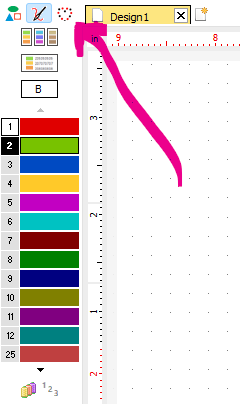
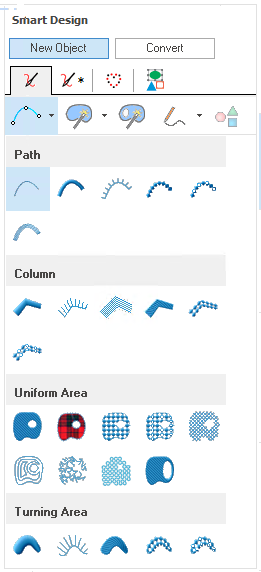
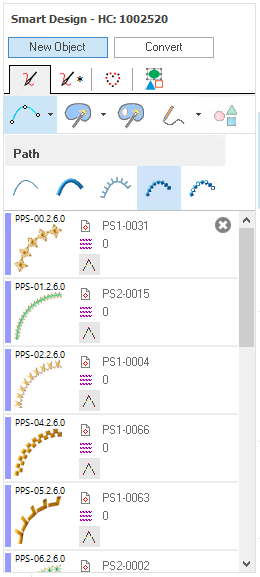
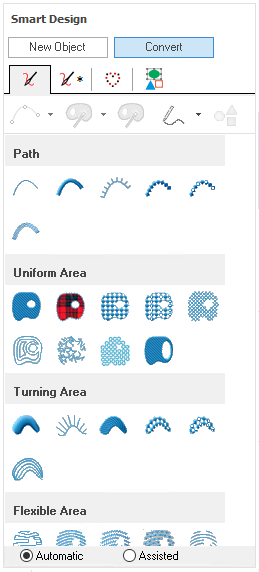
With the new redesign, the Smart Design tool becomes the center of operations for quick design creation and editing for several reasons: •It can be always visible •It allows switching between creation and conversion modes for object types and fill styles. •It allows users to choose between design digitizing modes (on raster, vector or on-the-fly images). •Allows to choose between all object types that can be created (any decoration) •Displays the styles of each object type and filling style (embroidery only) That is, it replaces the selection of working modes from the main toolbar, the selection of object types, filling styles and digitizing modes available in the tool ribbon, etc. It is useful for both creation and editing of objects.
|
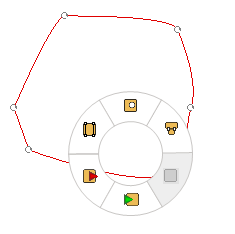
At the request of users who used to work with other software products, a new way of manual digitizing has been added that uses both mouse buttons to insert nodes of different types. You can switch between both ways in the options and preferences form. The new alternate mode works as follows: •Left mouse button: creates curved node •Right mouse button: create straight node Note that the regular context menu has functions necessary for the use of the software (normal on Windows systems), and this alternative way uses the right mouse button to insert nodes; the context menu can be activated with the corresponding key on the keyboard (if available) or with the Space key. |
Hands-free shape digitizing can now be combined with manual digitizing mode. |
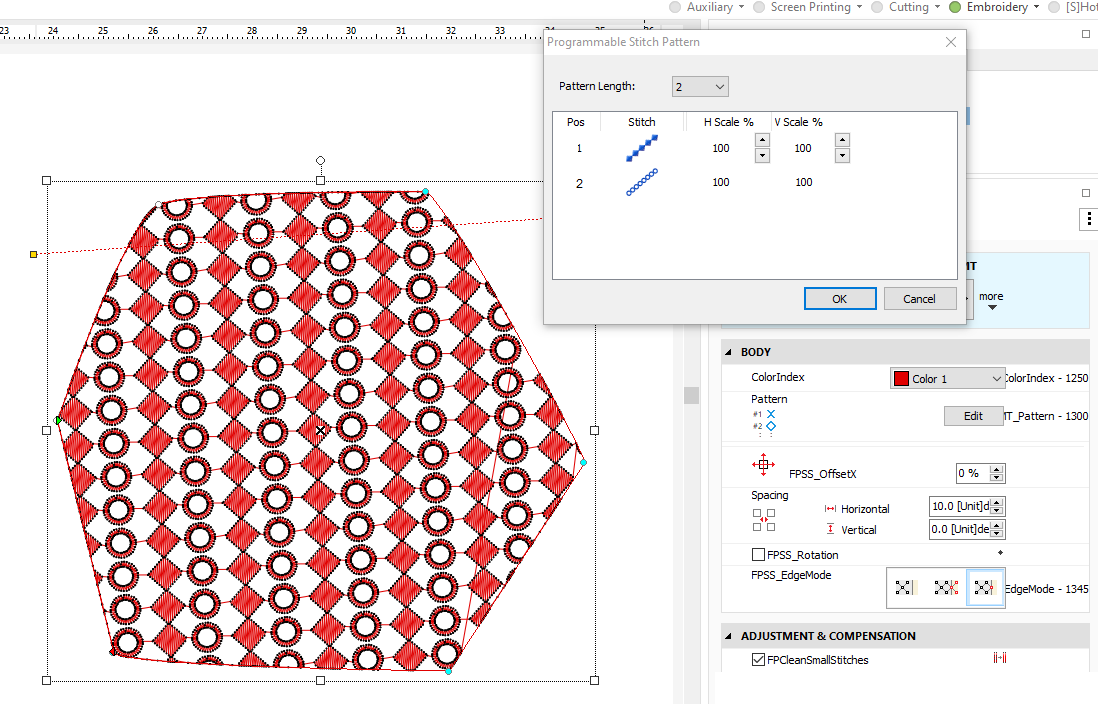
New programmable stitches can be created on the fly from several pre-existing programmable stitches.
|
|
•Adjustments in values of suggested usage ranges for certain fonts. •Correction in the filter by size range. |
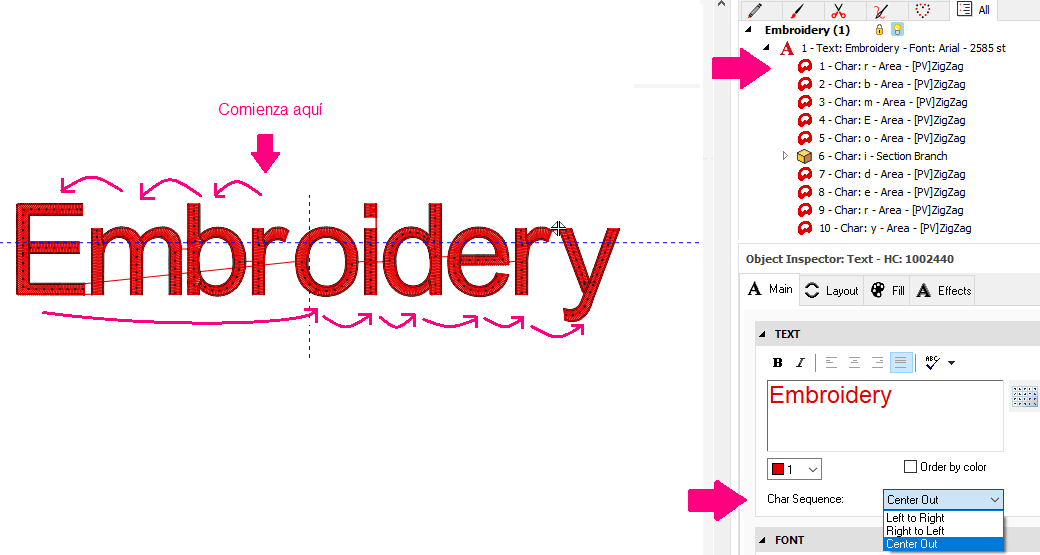
Define 3 options for start and end points of the embroidered text •Left to right (regular, standard) •Right to left (inverted) •Center to outside (center to left, then to right) At the moment, this function applies only to True Type fonts.
|
Correction in the editing of the "user defined lines" layout. Both lines can be moved using the Ctrl key. |
A text box has been added to filter the search for fonts by name.
|
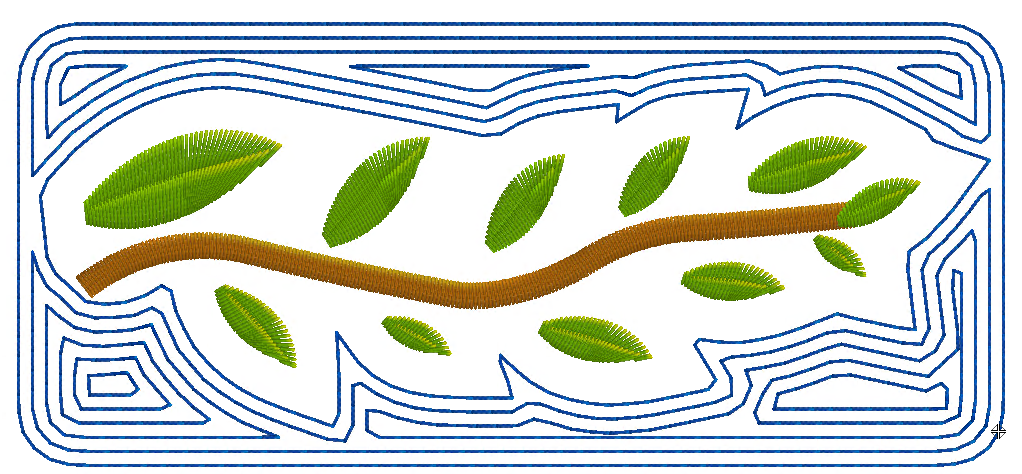
When creating paths with (manual) stitches, you can choose to insert jumps instead of stitches.
|
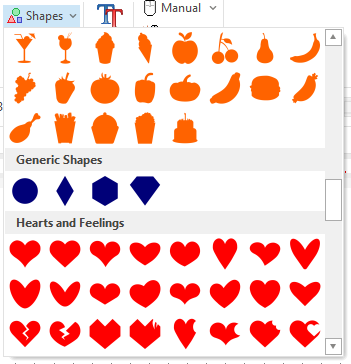
More than 200 new geometric shapes have been added to the library of predefined geometric shapes, for ultra-fast creation of objects without manual digitizing.
|
Block Editing
|
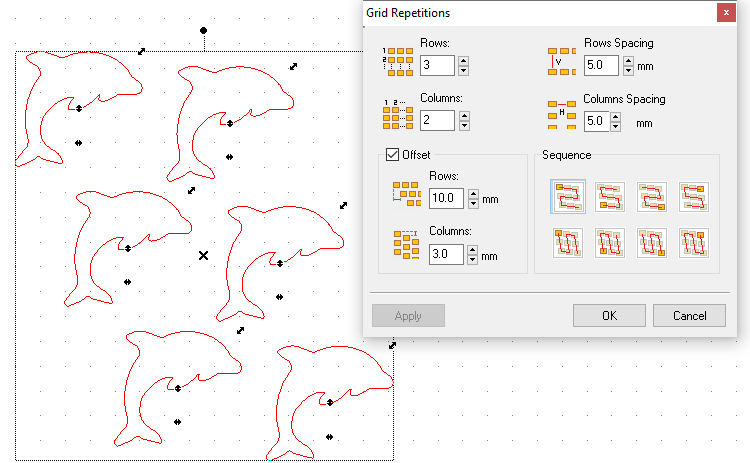
The form is clearer and more compact. The option to offset between rows and columns has been added. This function applies to objects of all types of decoration.
|
|
|
|
|
|
|
|
Object Editing
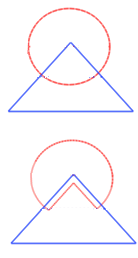
When selecting objects for editing, while searching for the object to be selected, pressing the Shift key highlights the object below the course to be selected. This makes the selection more reliable. Objects that would not be selected change their transparency. The objects to be selected are shown with their stitches (new).
|
Select object elements (holes, direction lines, relief lines) and move them together, in addition to the individual editing of each node of these elements. This is the "Move Element" function. |
In the functions for inserting nodes and adding nodes, the position of the node to be inserted (or added) starts from the average position between nodes but this position can be moved along the contour line or curve. |
Stitch Editing
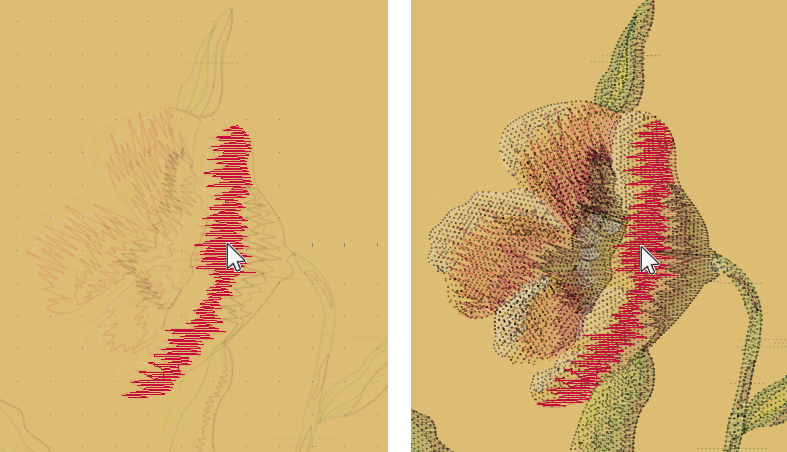
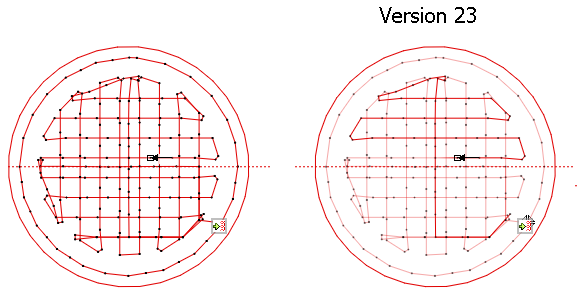
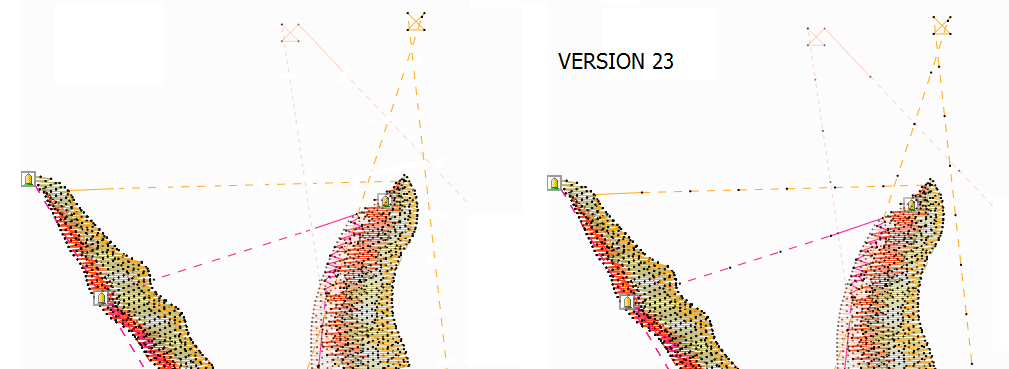
Change in the drawing of a stitch region when selecting a stitch: the previous stitches are drawn in full and the following stitches with transparency, giving a better idea of the stitch sequence
|
When a design is opened in "low level", marks are drawn on the jumps
|
|
Visualization Tools
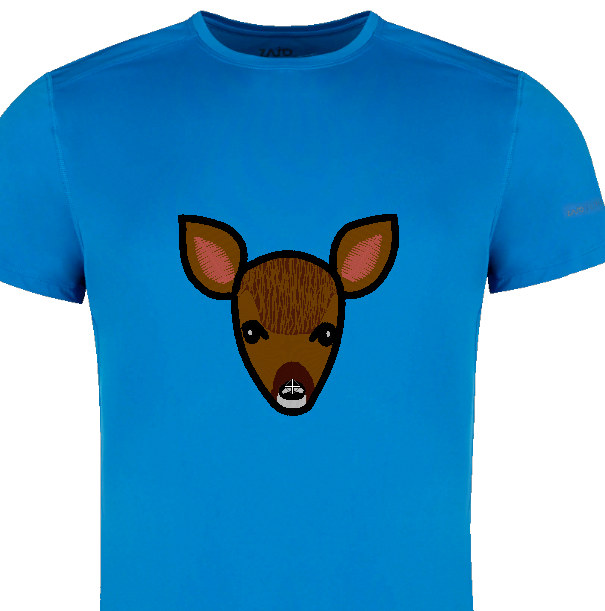
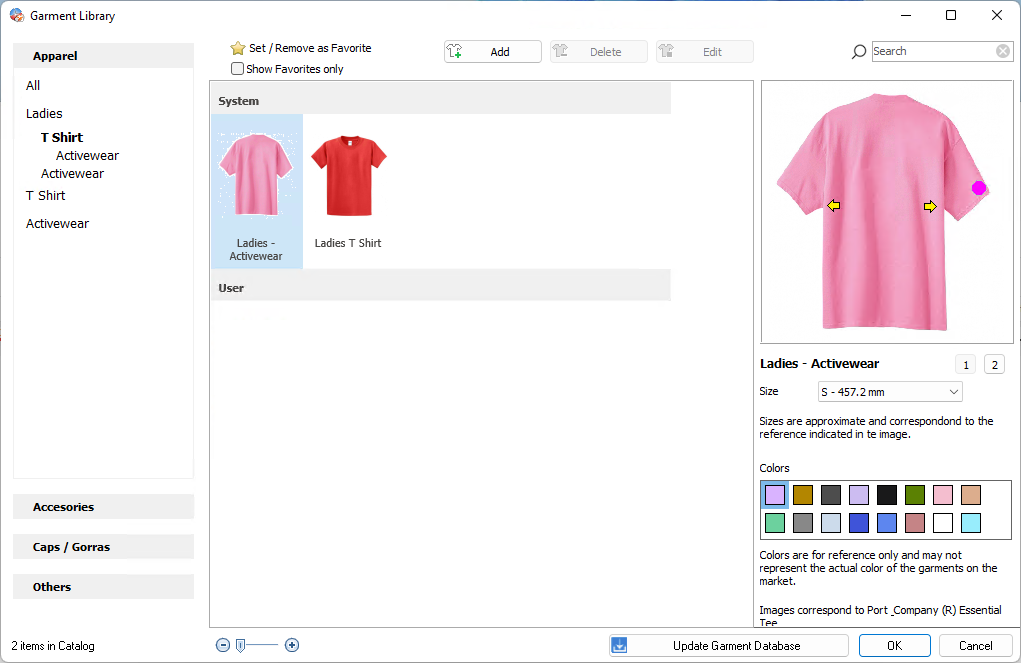
A form is included to customize and create new garments to include in the garment library. The garment library can be expanded with more predefined system garments, as they become available, via an update service.
|
New convenient way to move the visible region of the work area. Pressing and dragging the mouse wheel (or the center button) over a point in the work area moves the visible region. This feature works both during creation and editing of designs. |
|
These functions are especially useful when the user needs to show and hide objects individually, and then it is confusing to understand which objects are visible and which are hidden. •In sequence views, the object that is hidden is shown with a red check mark. •New command "View all objects", changes the status of hidden objects. •New command "Hide unselected objects", leaving only selected objects visible. •Show objects" and "Hide objects" commands are still available in the object manager. |
Prepare, Print, Export Embroidery Designs
This code supports designs with more than 128 color changes. |
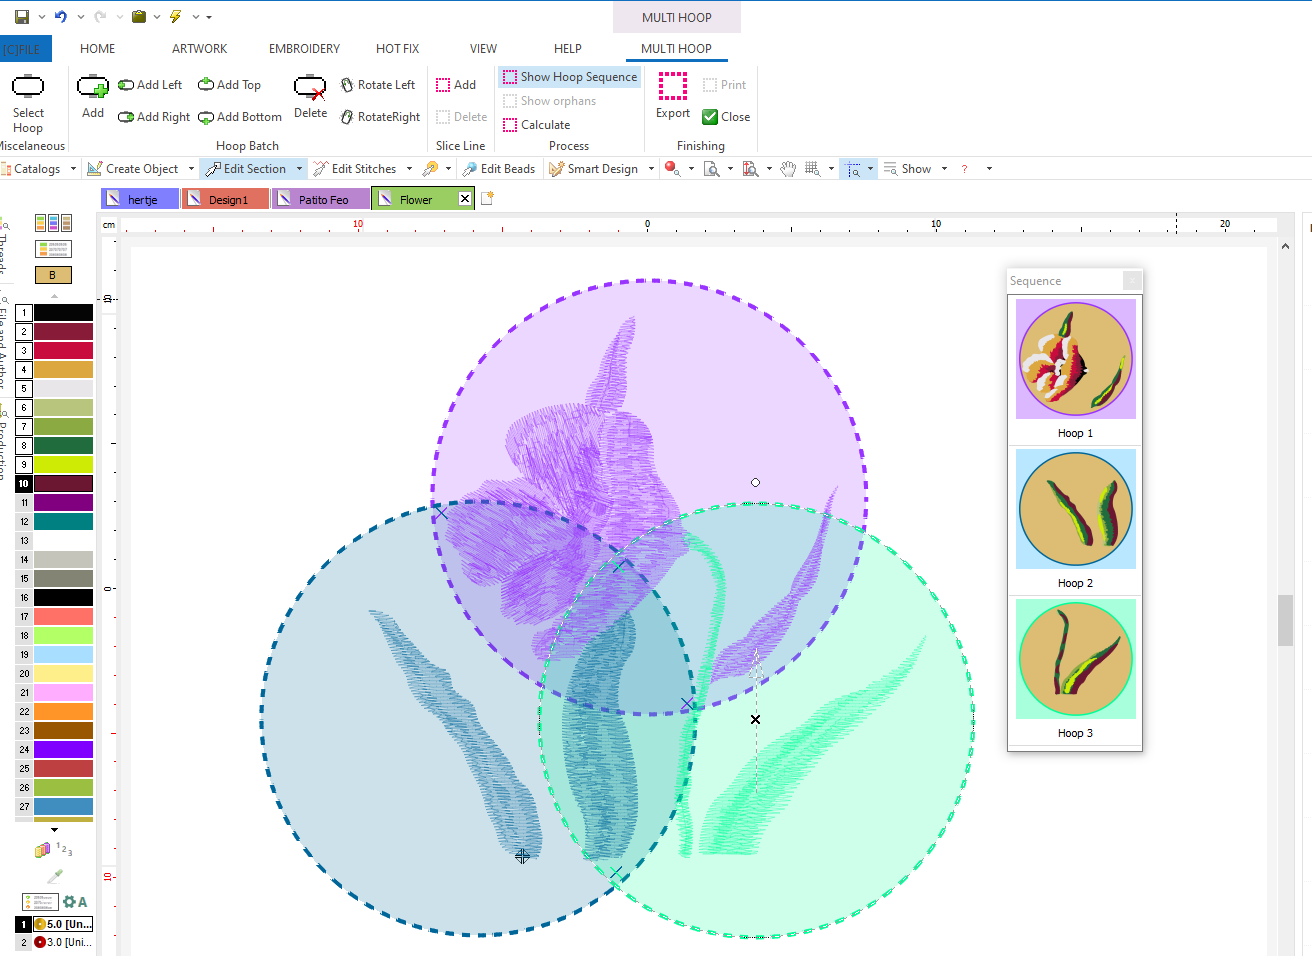
Wizard to divide a design into several parts, in case the dimensions of the design exceed the embroidery area of the available embroidery hoops.
|
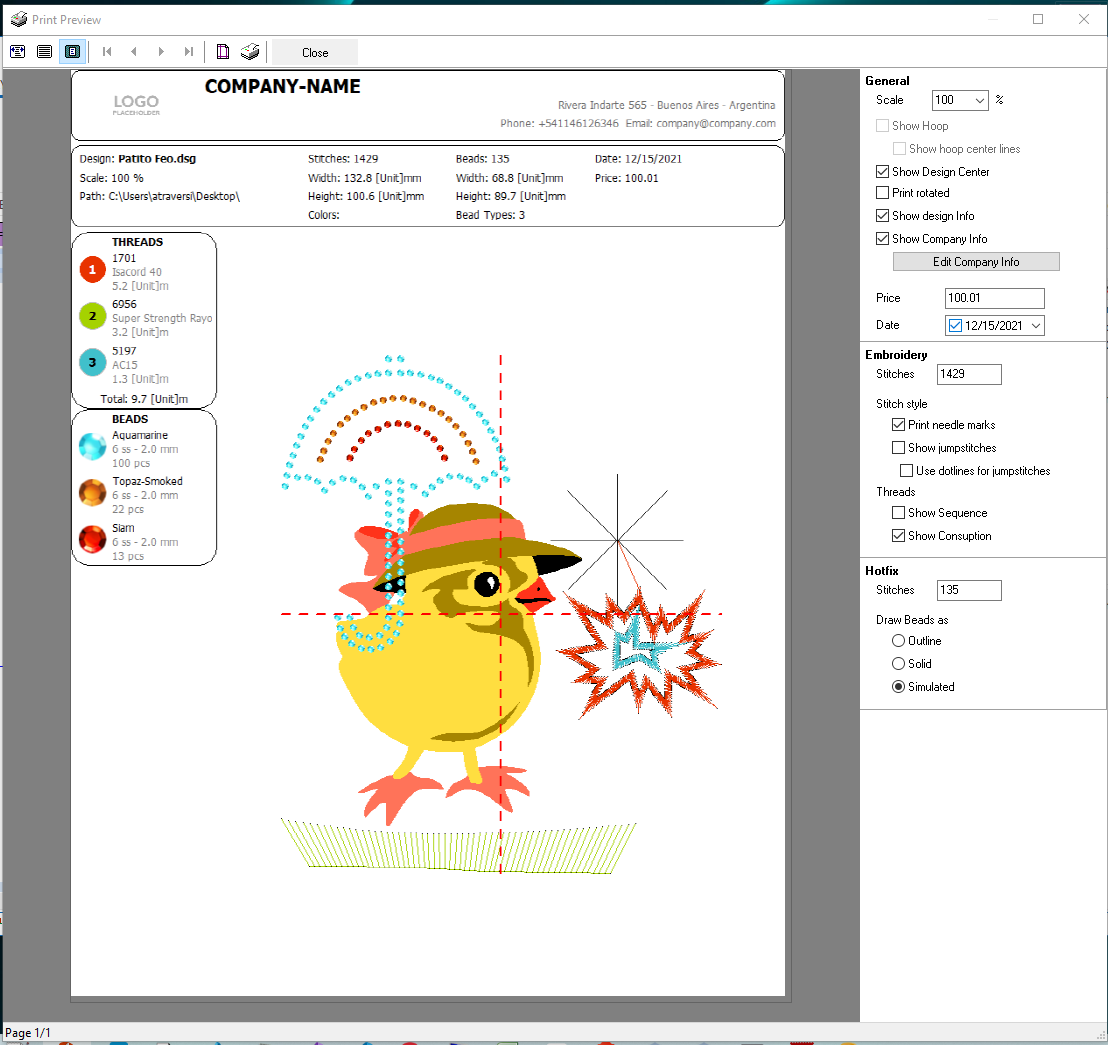
•New look on more modern paper. •Print portions of designs (sets of embroidered objects, stones, prints, etc.) •Instant preview of print settings •Print a label with company information (logo, name, etc.) •Printing the frame / hoop •Print the center of the design •Edit the number of stitches •Adjust the price of the design •Include printing date •Print the color sequence •Print the thread usage
|
More tools
|
|
The webcam image capture form has been reimplemented. |
A text box has been added to filter the search for components by name. |
Selecting any of the grouped objects selects the entire group. A second click on any of the objects selects that object. |
The system notification ribbon has been redesigned. More types of messages have been included, notification date, title and description are indicated. When possible and/or necessary, actions related to the message are proposed and can be performed immediately by the user.
|
Application performance
A new mode for auto-generating stitches has been added, especially for use during object editing: if you can edit several elements of an object, stitch generation will be performed when releasing that object. This function is controlled by an option available in the "generate" menu. |
•New, clearer application skin style •Improved redrawing of toolbars and panels |
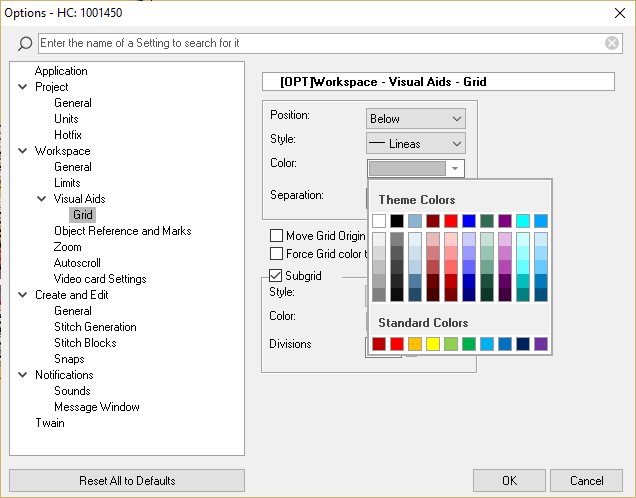
Options and preferences
|
|
|
Other miscellaneous improvements and fixes
| Open, Save, Export Forms: mejoras |
Various enhancements to Open, Save and Export forms |
Export vector objets in SVG File Format Export vector objets in CDR File Format (it requires CorelDraw) |
•Export Applique: Support of new formats; EMF, SVG, CDR, DXF (in addition to HPGL/PLT). •Save embroidery files form: Last used expanded design formats are shown first in the drop-down list. •Insert command after object: This property previously available only in the Object Inspector, is also available in the context tool ribbon, of the fill type used. •Navigation in stitch editing: The up and down keys move the selected stitch in increments of 5 (previously incremented by 1, available with the right and left arrows). |
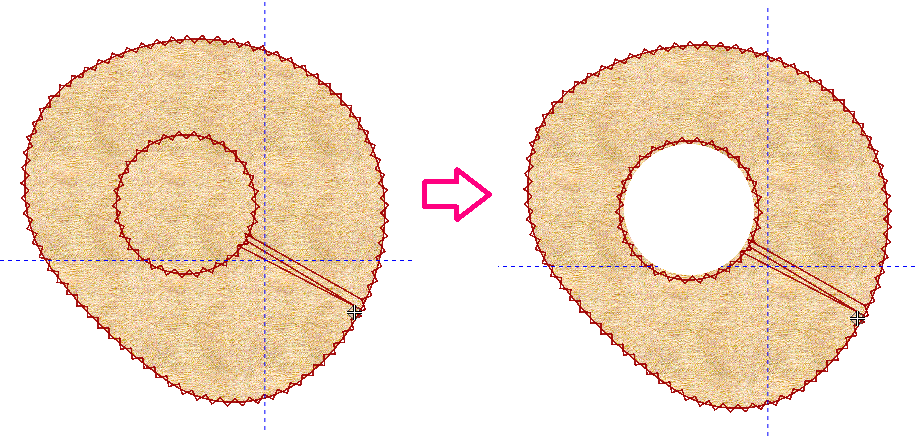
•Bug fix # 1680: Show error 1400 when creating text as vector objects •Bug fix in font document: Some cyrillic characters are displayed wrongly •Bug fix in Support contact wizard: Error in email validation •Fix in auto-trace: "curls" are created in created curves •Bug fix in cursor error: When deleting a block, the cursor is in "move" style. •Bug fix # 1674: Object creation does not remember corner settings between objects. •Bug fix # 1670: Open / Save form appears partially outside the desktop. •Bug fix # 1653: Grid effect doesn't work with stitches •Bug fix in simulation of applique containing holes
•Error correction when editing stitch block: Sometimes the block was lost |
New product level
For Stitch Era product line, both perpetual license and subscriptions, we have created a higher level called Stitch Era ARTIST. This product is (and will always be) the top of the line, and includes more creation tools and fine design control. Stitch Era ARTIST features are available on the official website. |
