|
|

|
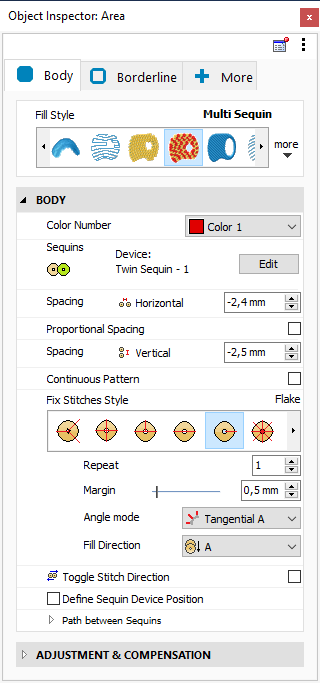
This is the color number of the thread/color palette.
|
|
You can change the color number from the color bar, from the context tooltab or from the object inspector.
The thread color for this color number is defined (and can be redefined) on the thread/color palette.
The stitches of the selected object will be created using the selected color.
This number is also the needle number of the embroidery machine (for multi-needle machines), unless the needle sequence is redefined.
|
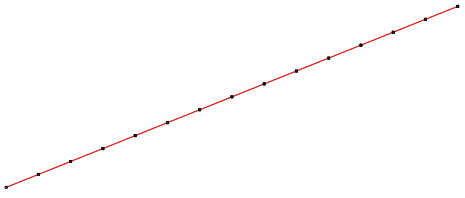
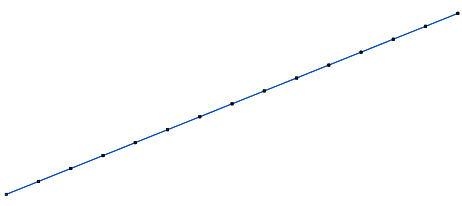
Change Color Number on a Path with Running Stitches
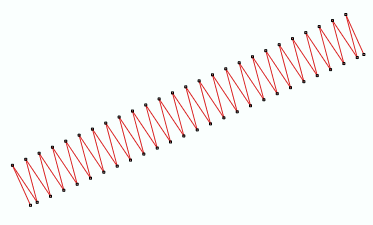
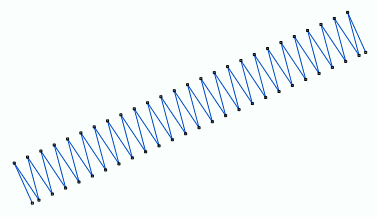
Change Color Number on a Path with Zig-Zag Stitches
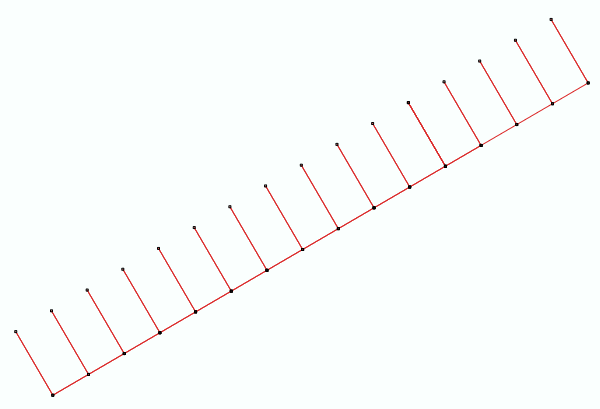
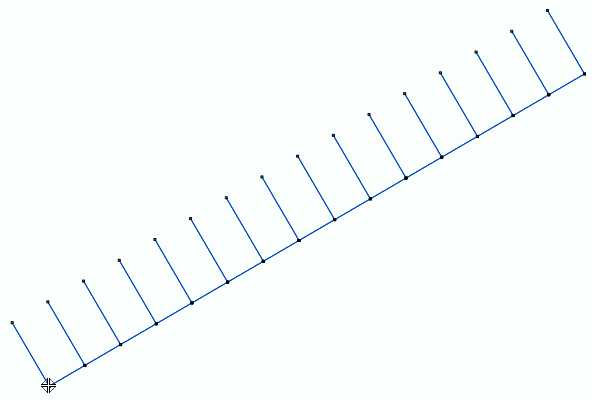
Change Color Number on a Path with E Stitches
|
It specifies the color number of the thread palette corresponding to the main color of the object.

Defines the sequin types to use for a multi-sequin fill mode style.
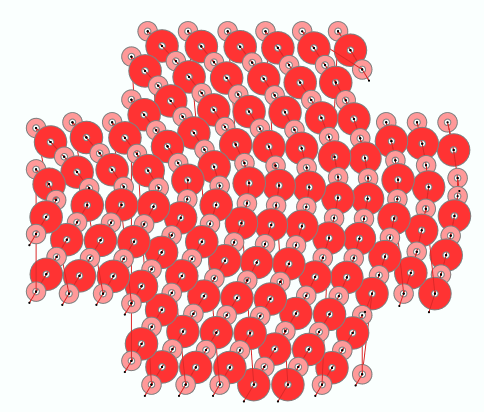
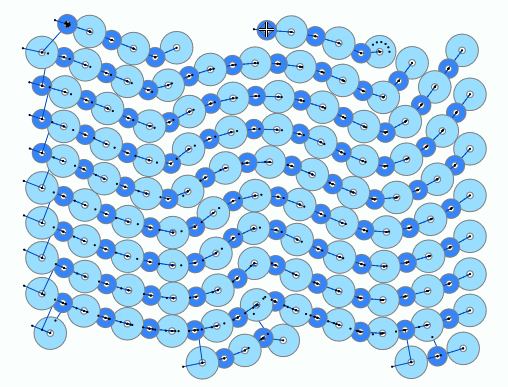
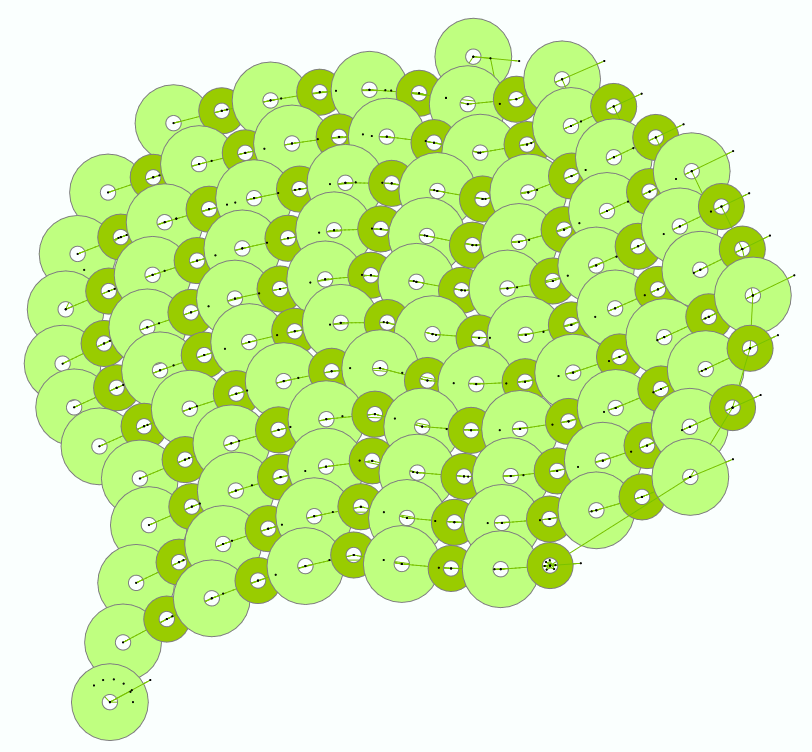
Multi-sequin fill styles require that you select all sequin types you want to use. The idea is that you define a pattern of sequins, then the system will repeat the pattern along the fill.
If your machine is equipped with twin devices,consider that it is not possible to combine sequin types from Device #1 and Device #2; the pattern should contain sequin types from one of them only. In fact, when you open the Multi-Sequin Pattern Editor, it will allow you to select the sequin types of the active device (the one currently selected in the Sequin Bar)
Click the Edit button to open the Multi-Sequin Pattern Editor.
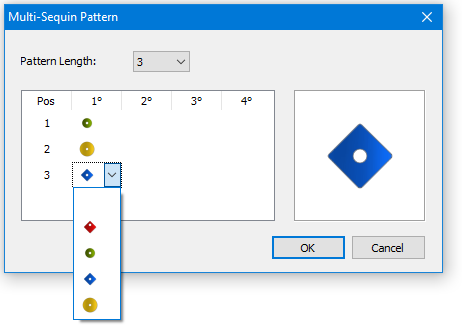
The table has as many columns as the number of sequins your active sequin device can handle and as many rows as you select in the Pattern Length control.
Each row represents a position in the pattern. For example, the below picture shows a pattern and how it will look if it is used for a path with multi-sequin.

When you click on any cell of the table, the system will show a selector with the list of sequins loaded in the active device.
In the table, the columns are intended to define patterns with stacked sequins.
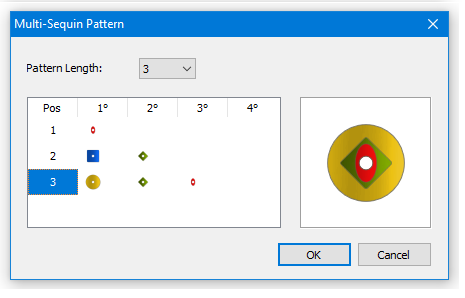
Be aware that not all sequin devices are capable to stack sequins and that some of them limit what sequin can be fed over the others. In any case, the first column must contain the bottom most sequin of the stack (see the row #3 in the above picture)

Once you select a sequin type at a given position in the table, the software will consider the stacking limitations of the configured sequin device and, for all positions to the left of it, will not allow to select a sequin that the device can't feed over it.
The number and type of sequins showed in the list will depend on your sequin devices configuration (number of devices per head and number of sequin types handled by each device)
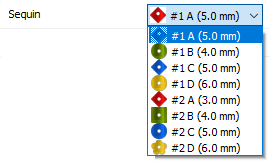
In this example, there are 2 sequin devices configured in the software (#1 and #2) both of them capable of handling 4 sequin types (A,B,C and D). As the sequin devices are usually installed on the first and/or last needles, when picking a sequin, consider that it may involves a color change to the needle where the device loaded with that sequin is installed.
From the Sequin Bar you may replace any sequin for other from the Sequin Library or you may even create your own.
|
It specifies the sequin type, size and color.
Sets the Horizontal and Vertical spacing of the sequins in fill styles based on tracks of sequins

|
Horizontal: Sets the free space between consecutive on a given track
Vertical: Sets the free space between consecutive tracks
|
Horizontal Spacing = 0 mm
|
Horizontal Spacing = 1 mm
|
Vertical Spacing = 1 mm
|
Vertical Spacing = 0 mm
|
|
|
Be aware that Margin property will also affect the final spacing between sequins in a track and between tracks. In fact, the final separation between the edges of the sequins will be:
Final Separation = Spacing + Margin
|
It defines the horizontal and vertical free space between sequins.

Enables an alternative method to calculate the spacing between consecutive sequins for multi-sequin fill modes
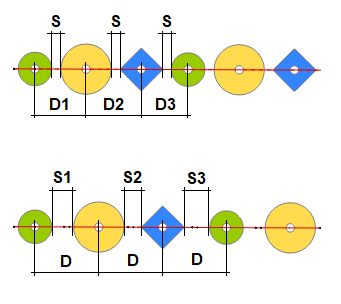
For single sequin fill modes, the sequins centers are placed considering the sequin diameter and the value set for the property Spacing. In multi-sequin fill modes, more than one sequin type are used, so the diameters may be different. In this situation, the position of the sequins may be calculated using 2 strategies:
Keeping the distance between the edges of consecutive sequins. This method produces that the center of the sequins become unevenly spaced. To use this option, you need to check Proportional Spacing
Keeping the distance between the center of the sequins. In this strategy the distance between the edge of the consecutive sequins are different. The position of the sequins is calculated using the largest sequin diameter, so, if two of the largest sequins are placed together, their edges will be separated the value set as Spacing, while the smaller ones will be separated a more than that value. To use this option you need to uncheck Proportional Spacing
|
Up: Proportional Spacing ON. Same distance between the edge of consecutive sequins (S) and different separation between centers (D1, D2, D3)
Down: Proportional Spacing OFF. Different separation between edges (S1, S2, S3) and same distance between sequin centers (D)
|
|
It defines if the horizontal free space between consecutive sequins depends on the sequin size.

|
This property controls how the sequin pattern is processed in Multi-sequin Flexible Area fill style.
|
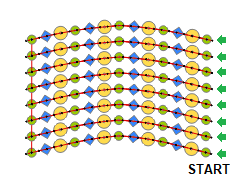
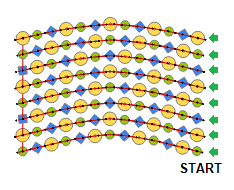
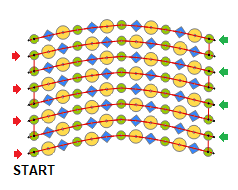
The Multi-sequin Flexible Area fill style is based on multiple paths and the system places the defined sequin pattern along those paths. In most cases, the length of the paths does not allow an integer number of patterns to fit into them, and the system needs to truncate the last pattern. The Continuous Pattern setting controls what happen with the pattern on the next path of the fill mode.
If you activate this property, the next path will start with the next sequin in the pattern. If you deactivate the property, the next path will start with the first sequin in the pattern.
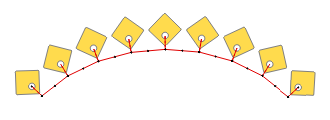
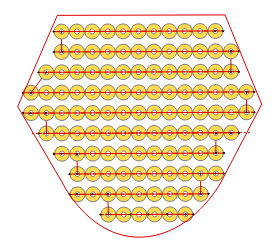
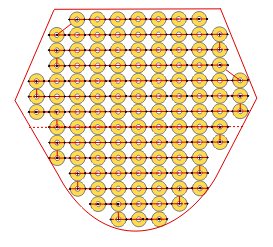
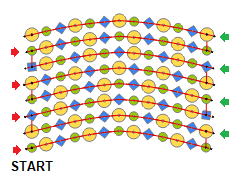
It should be considered that the property Toggle Stitch Direction may also affect the result, because the next path may start at the side of the object or t the opposite side. See the examples below (in all pictures the pattern is green-yellow-blue. Consider where the fills start and the placement directions):
Continuous Pattern OFF
Toggle Stitch Direction OFF
|
Continuous Pattern ON
Toggle Stitch Direction OFF
|
|
|
Continuous Pattern OFF
Toggle Stitch Direction ON
|
Continuous Pattern ON
Toggle Stitch Direction ON
|
|
|
|
It controls if the sequin pattern starts again on each track or continues from the previous track

|
Set the stitch style to be used to secure the sequins in place and defines its properties
|
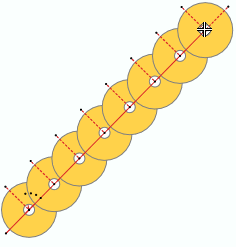
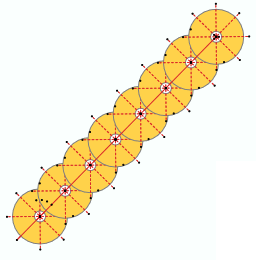
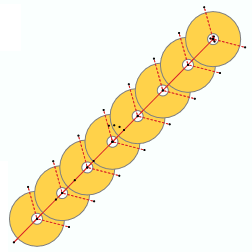
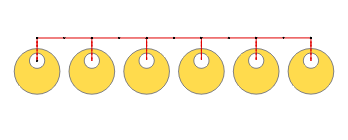
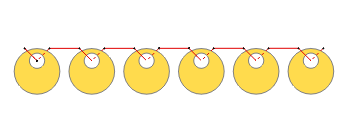
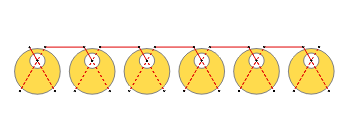
Several styles are available: Tripod, EE, E, Horizontal, Flake, Double Cross, Inverted E, etc.
Fix Style: E
|
Fix Style: Double Cross
|
Fix Style: Tripod
|
|
|
|
Please, note that some of the styles are specially prepared for sequins with eccentric hole.
Fix Style: I NotCent4
|
Fix Style: V 45 NotCent
|
Fix Style: X Up NotCent
|
|
|
|
|
It defines the stitch type to be used to fix the sequins in place.

|
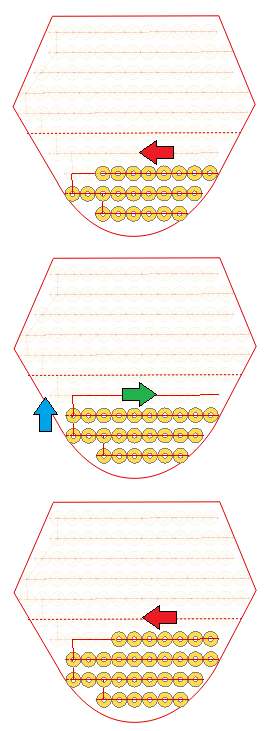
If enabled, fill stitches proceed in both directions. When a row is completed, the next one is generated in the opposite direction.
|
Disable Toggle Direction
|
Enable Toggle Direction
|
1.Sequins placed right to left (red)
2.Goes next row (blue) and back right (green)
3.Sequins placed right to left (red) |
1.Sequins placed right to left (red)
2.Goes next row (blue)
3.Sequins placed left to right (green) |
|
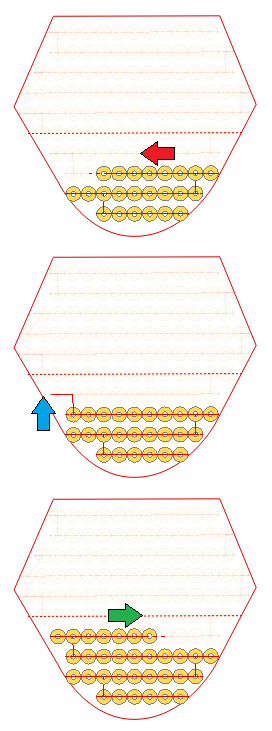
|
This property applies to:
•Flexible Area + Sequin Fill
•Flexible Area + Multi-Sequin Fill
•Area + Matrix Sequin Fill
|
It changes the direction of the stitches from one array (track) to the next one.

|
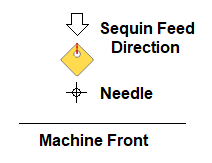
Optimizes the sequin feeding process by defining the position of the sequin device relative to the hoop. Setting this property allows the software to ensure that the first stitch of the fixing style is always placed in the opposite direction from which the sequin feeds, preventing the sequin from hitting the thread, thereby causing an improper placement.
|
|
It defines where the sequin device is placed, according to the hoop position.
Paths between Sequins
Personalizes several parameters regarding the path:
oMaximum Stitch length |
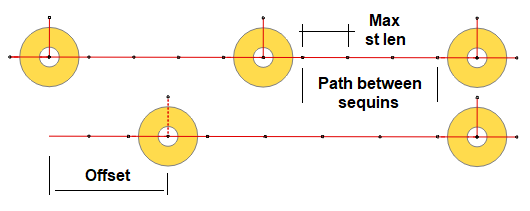
It is the maximum stitch length to be used for the connection path between sequins. It becomes relevant when the sequin separation is around 3 times the maximun stitch length.
|
oOffset from the first end |
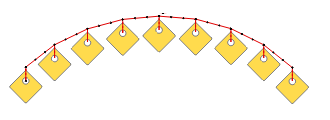
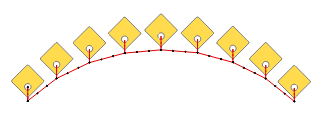
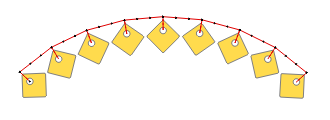
Distance between the first node of the object and the center of the first sequin. If you increase the value, the sequins will be placed farther away from the first node.
|
oRepeat Path |
This is the number of times the stitches of the path between sequins are repeat. It is similar to the property of the same name available for Running Stitches.
|
Up: Offset = 0 Down: Offset = 2 x sequin diameter
|
It sets several parameters regarding the connections.
|
