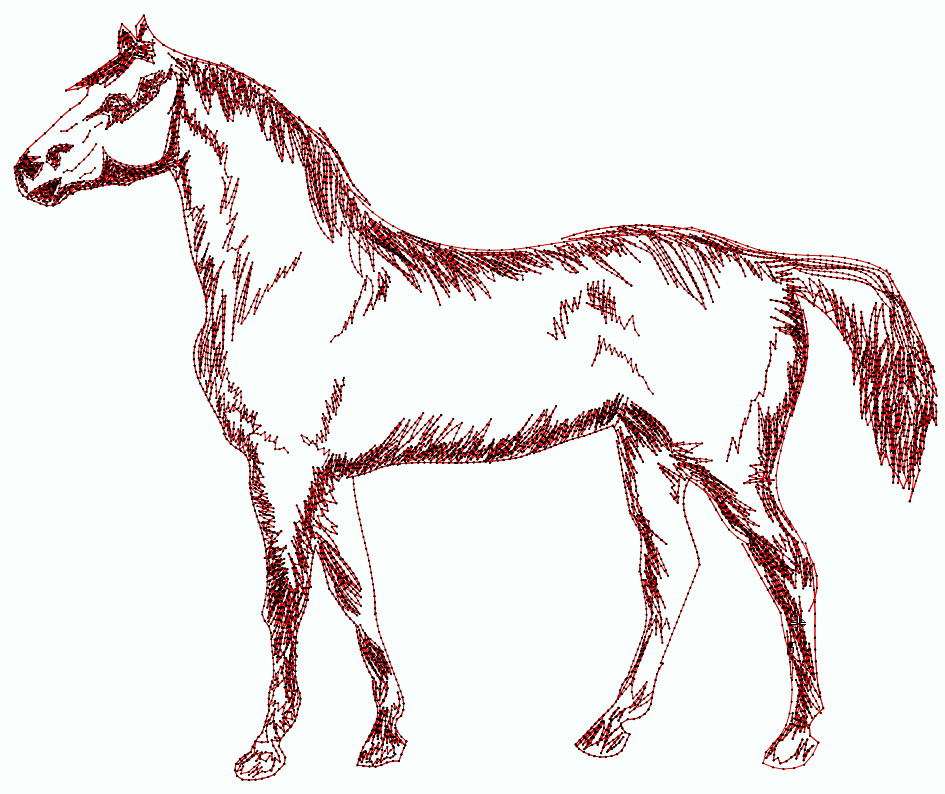
Embroidery objects can be created with simple free-hand tracing. This is the ideal digitizing method when you need to create irregular (hand-made) shapes, or when you want to create a drawing-like design.
How to create embroidery objects through free hand digitizing?
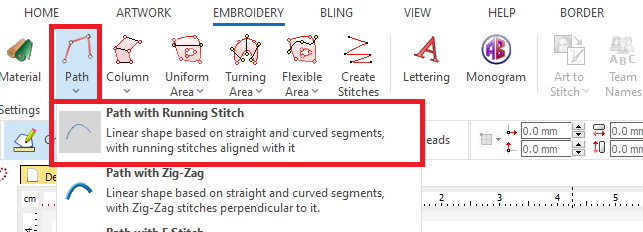
➢Click on CREATE OBJECT, on the MAIN bar and select the Embroidery Object Type you want to create. You can select the object type from the tooltab EMBROIDERY or through the drop-down menu on the CREATE OBJECT arrow. The context tooltab BODY with the properties of the selected object type is displayed.
|
|
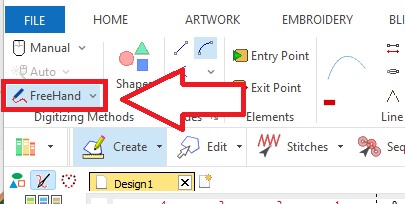
➢Click on FREE HAND, on the tooltab BODY. |
|
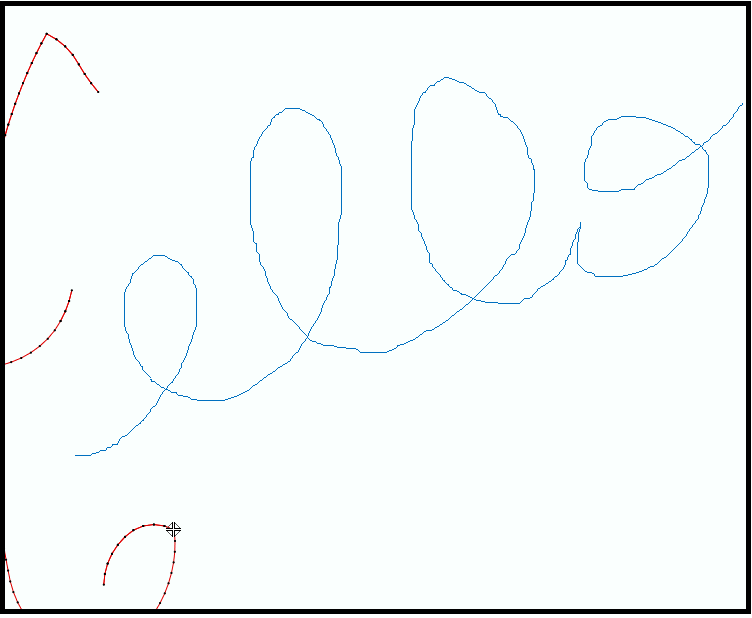
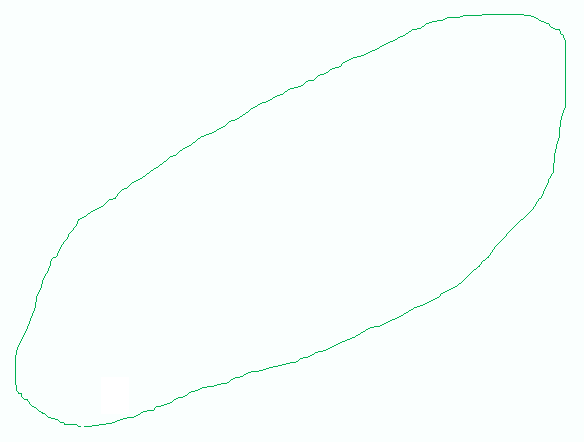
➢Press the mouse left button on the workspace and drag the mouse according to the shape of the object you want to create. You can create open shapes or closed shapes. |
|
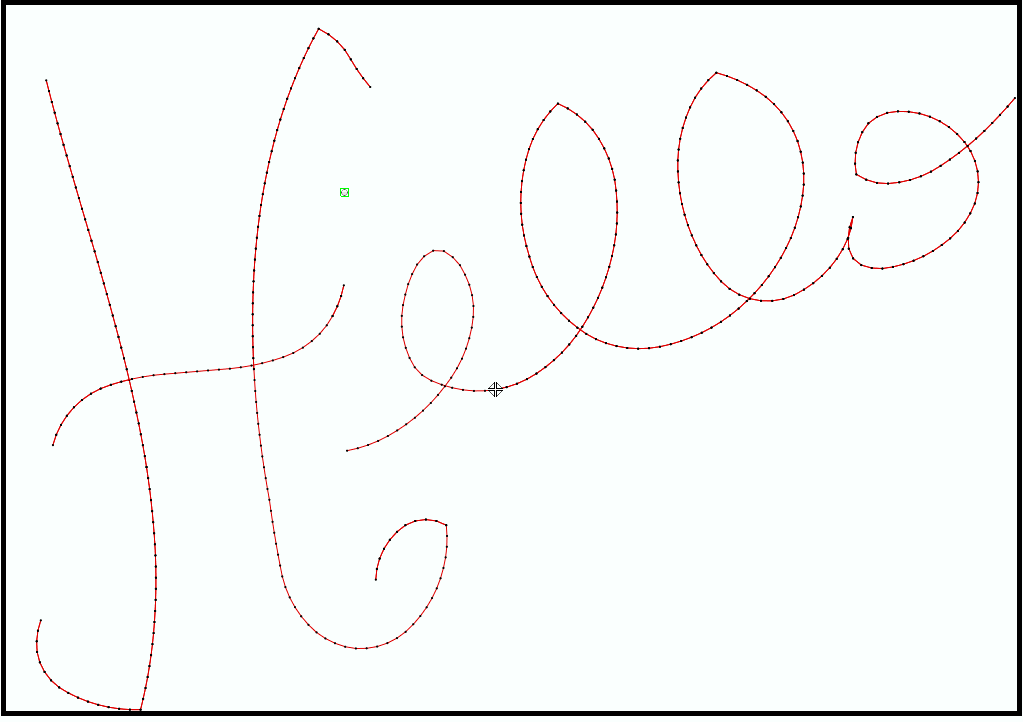
➢Release the mouse to create the new object. The software will vectorize the hand-trace to reduce the number of nodes of the new object. The new object has been created! |
|
Hand-made (irregular) shapes through hand-free digitizing
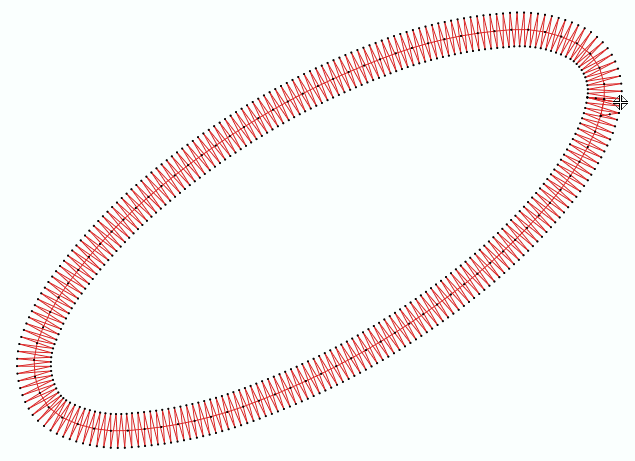
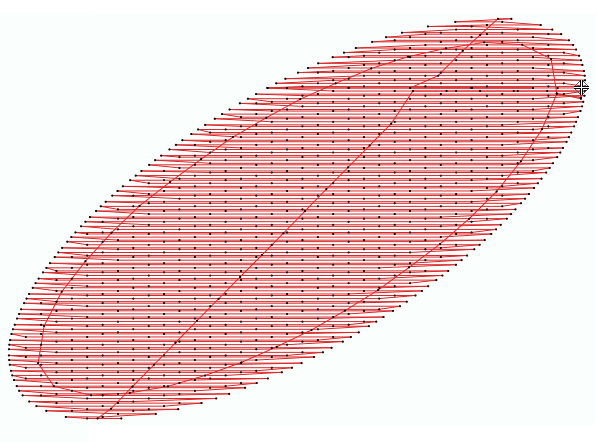
You can create the objects as explained, using the PATH object type or AREA object type with almost any fill style. See the following samples. |
|
Regular shapes through hand-free digitizing
If you create the objects as explained, but the shape you draw approximates to a regular shape (square, rectangle, circle, ellipse, triangle, etc) the application will produce the regular shape. See the following samples. |
|
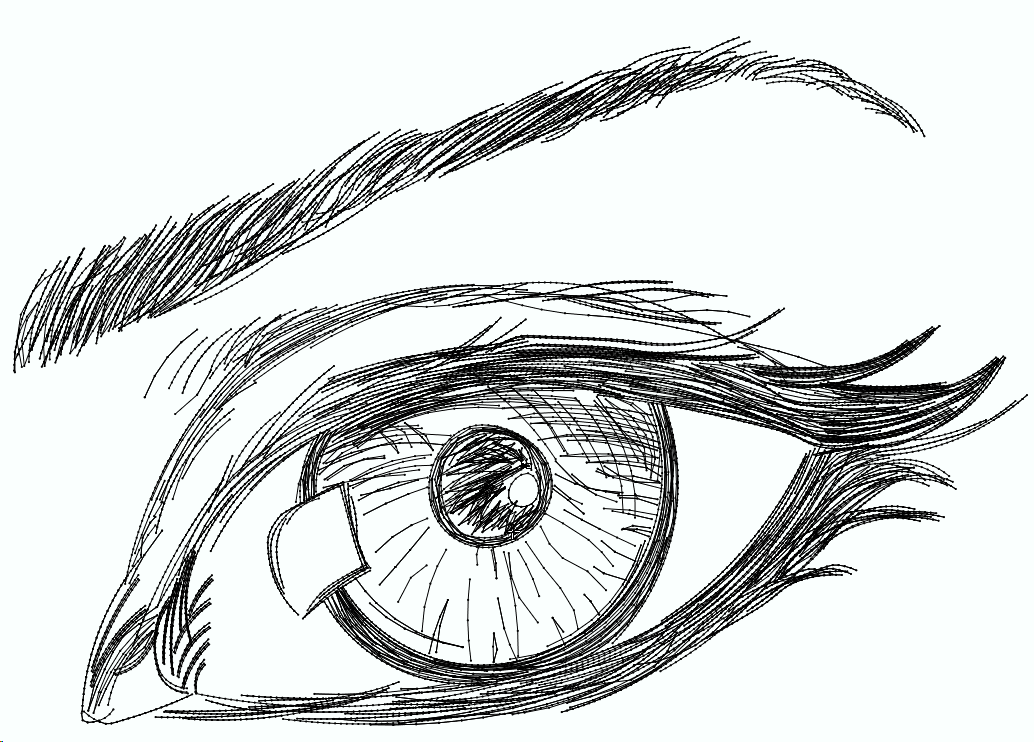
Drawing-like embroidery objects through hand-free digitizing
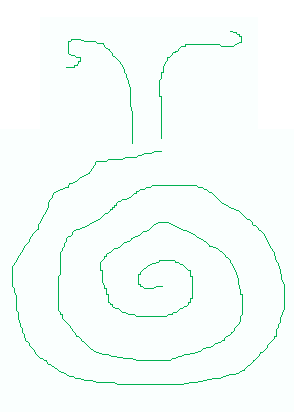
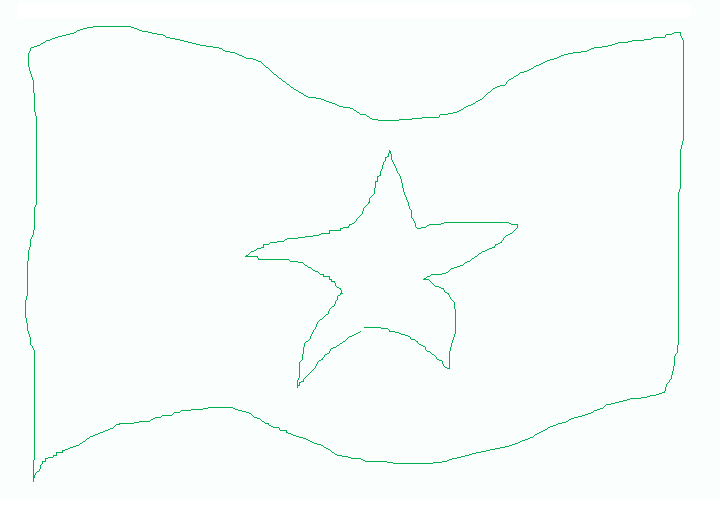
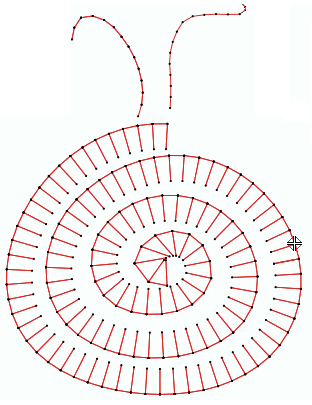
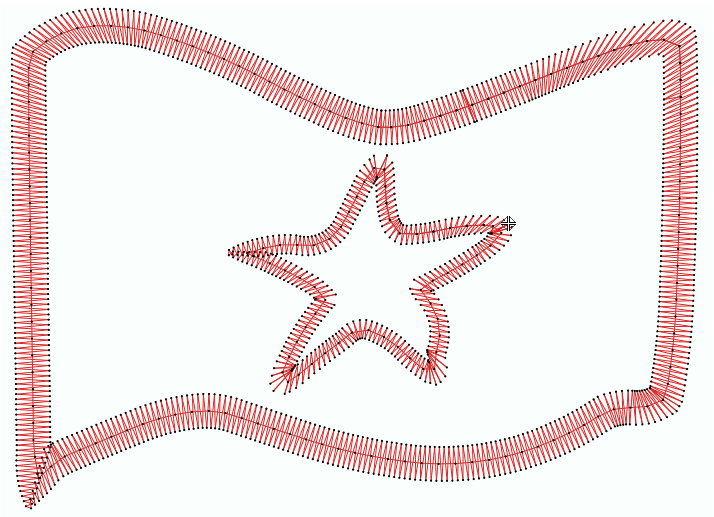
By using the FREE HAND tool, the creation of free-hand made embroidery objects just requires your drawing skill. You can create the objects as explained, using the PATH object type with RUNNING STITCHES fill style. Set the fill property "fit in path" in "path + reference". See the following samples. |
|
