There are two methods for printing your bling designs
•Print Design
•Print Draft
You can execute the PRINT function from the tooltab HOME > Output group.
You can also execute the Print function from the menu FILE > PRINT. |
|

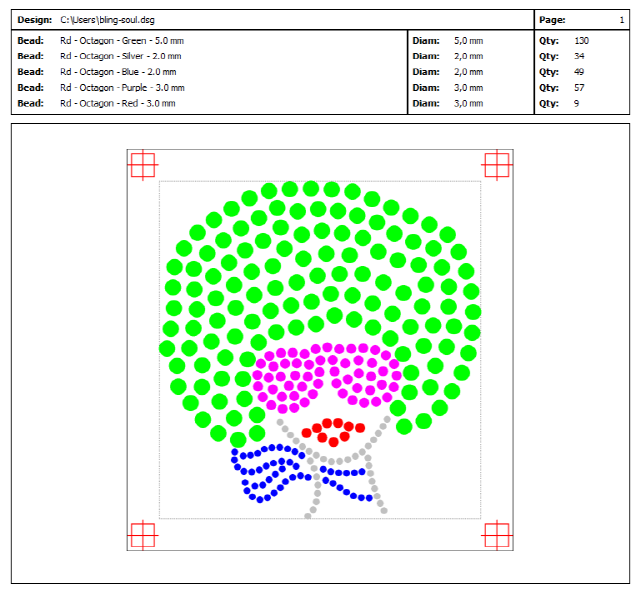
Print Design (standard)
This is a general design printout, using a simple layout, with a quick setup and basic printing parameters.
|
You can edit the print settings: •Print Scale (100% is a 1:1 printout) •Print Rotated (landscape print) •Print Bling Simulation •Print Design Information (show design info) •Print Page Border (print a border) |
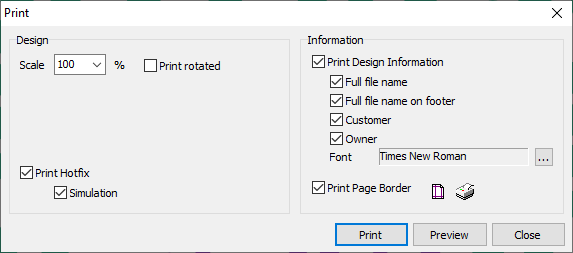
Use the Preview button to check how the printout will look before printing. Use the controls at the lower right corner to control page margins and set printer preferences.
Print Draft
Print the bling design in draft mode for manual rhinestone positioning.
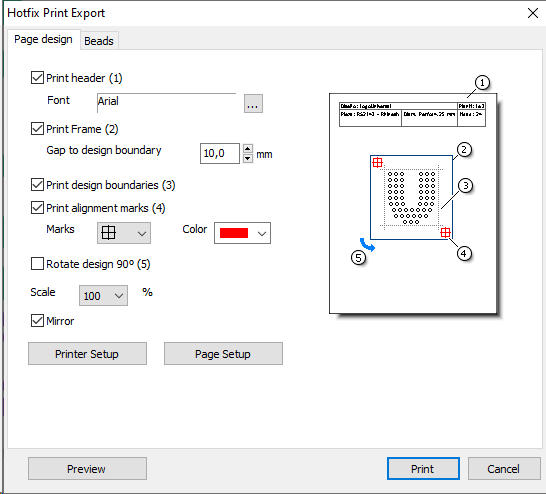
Page Design Tab
Select basic printing parameters for the design and for the information to be printed with it, such as information header, design frame, alignment marks, design rotation, mirror and general scale. |
|
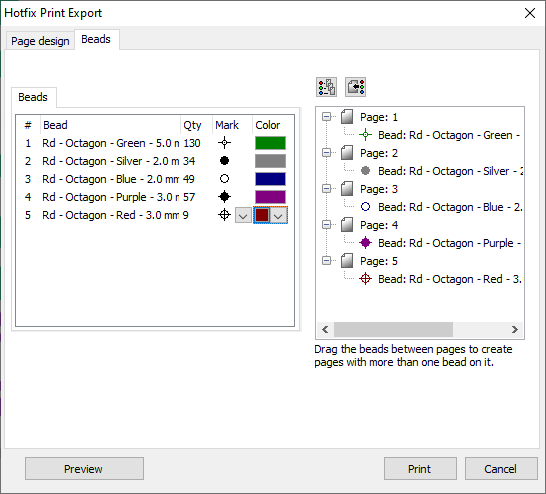
Beads Tab
It includes two lists: •Bling Type list on the left pane •Pages List on the right pane You can change the Marks visualization and Colors among the options given, to be able to locate them easier. You can also set to print one bling type per page, or every bling type in one separate page. |
|
The Bling Draft Printing tool also allows to print placement sheets to use them, for example, as a reference for manual placement: 1.Print the placement sheet. 2.Put a transparent transfer sheet (adhesive up) over the placement sheet. 3.Manually set the pieces using the placement sheet as reference. 4.Place the transfer sheet on the garment and apply heat to transfer it. |
|