Creating a simple embroidery design using the lettering system and some other objects from pre-defined geometric shapes.
You can create this design while you read this article.
|
This example includes: •Creating a new design document •Embroidery Lettering. Layout. •Object Manager and Object Inspector. •Block Menu •Embroidery Object Type: Uniform Area + Pattern Fill •System Shapes |
Open a new blank design document
|
➢Click on the blank document tab (above the workspace) to open a new design document. |
Select the Lettering Tool
|
➢Select the ToolsTab EMBROIDERY. ➢Then press on Lettering. |
Select the font to use
|
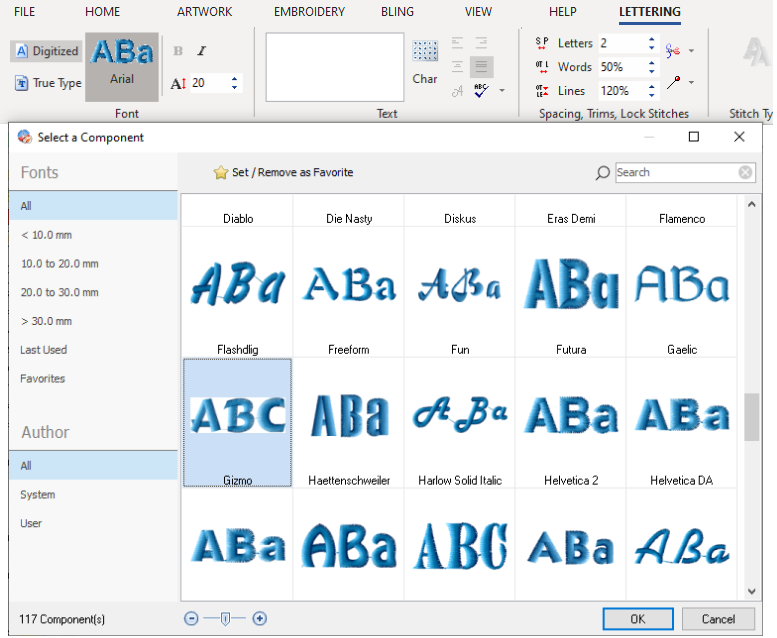
➢Click on the "font preview" button to open the Digitized fonts window. ➢Select the font type. ➢Click on the Gizmo Digitized font. |
Create a text on 2 lines
|
➢Click on the Text edit box (white rectangle). ➢Type the text "YACHT". ➢ Press CTRL + ENTER keys together to start a new line of text. ➢Type the text "CLUB". ➢Press ENTER to confirm the text. The text will be displayed on the Workspace. ➢Change the height of the font to 40mm. Press ENTER to confirm. |
Define the basic text properties
|
➢Select the text using the EDIT OBJECT tool to edit the text. |
|
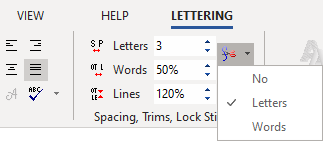
➢Change the lettering spacing value to "3". ➢Set the Trim option to "Letters". |
Define the text layout
|
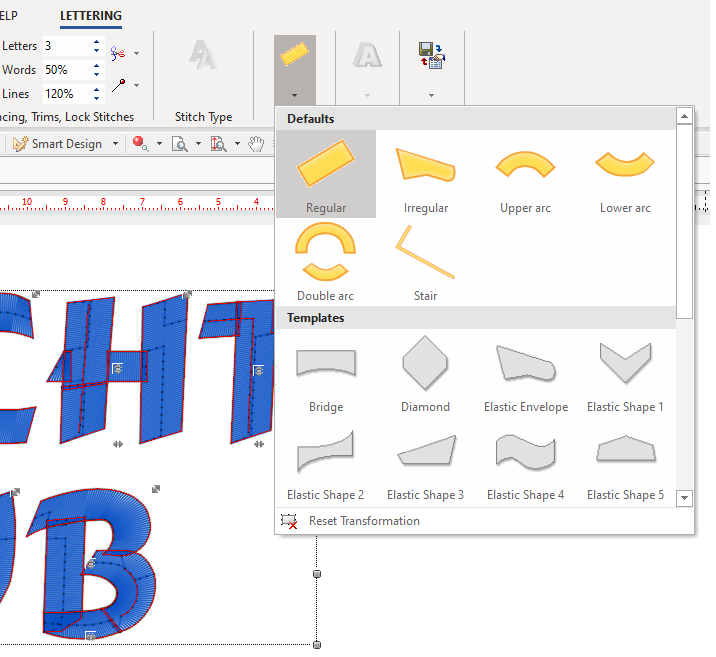
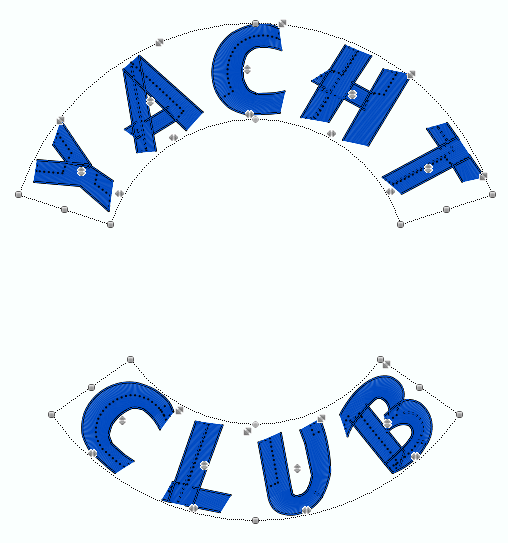
➢Click on the Arrange button and change the text layout to Double Arc. |
|
➢You can also adjust the position of the handlers to change the curvature, the text width, the text height, the characters scale, the characters position, etc. |
Define the advanced text properties
|
➢Select the text using the EDIT OBJECT tool to edit the text. |
|
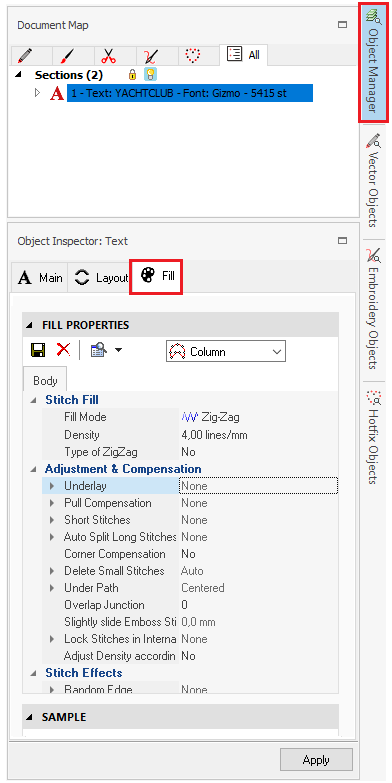
➢Click on the Object Manager button at the right side panel. ➢From the Object Inspector window, click on the Fill tab. |
|
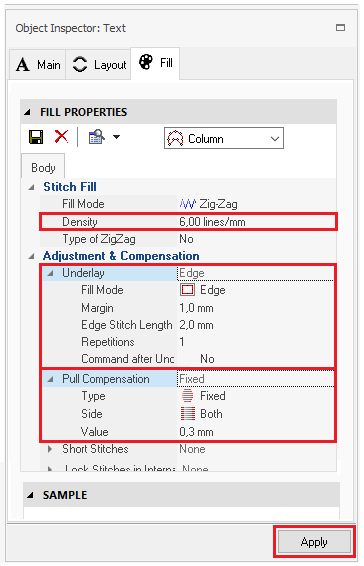
➢Set a stitch density value of 6 lines/mm. ➢Set an "Edge" Underlay, using a Margin Distance of 1mm and an Edge Stitch Length of 2mm. ➢Set a "Fixed" Pull-Compensation, for Both sides and a value of 0.3mm. ➢Click on Apply to confirm. |
Creating the boat object
|
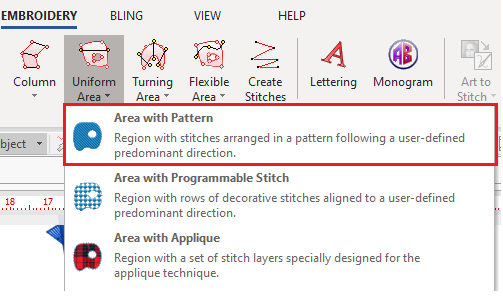
Select the object type and the fill stitch style: ➢Select the tooltab EMBROIDERY ➢Click on Uniform Area. ➢Select Area with Pattern. |
Define the boat object properties
|
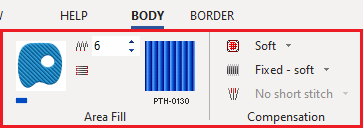
Define the main fill: ➢Set a stitch density value of 6 lines/mm. ➢Click on the "Pattern Stitch" icon to access the patterns library. Select the PTH-0130 manual pattern. ➢Set a "Soft" Underlay. ➢Set a "Fixed - Soft" Pull-Compensation. |
Digitize the boat object
|
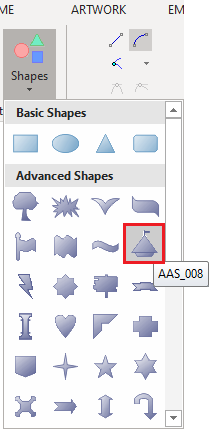
Digitize using pre-defined shapes ➢Click on the "Shapes" button and select the "AAS_008" boat shape. |
|
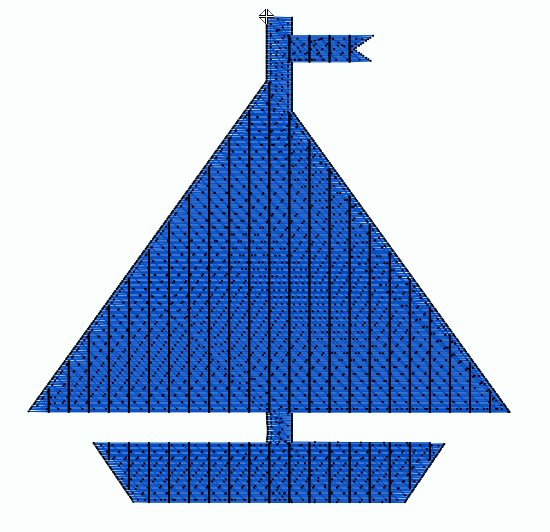
➢Press and hold the CTRL key in order to keep the symmetry of the shape. ➢Click and drag the mouse to create the shape. ➢Once the desired size is obtained, release the button and press ENTER to confirm and generate the stitches. |
|
➢Select the created area using the EDIT OBJECT tool to edit it. |
|
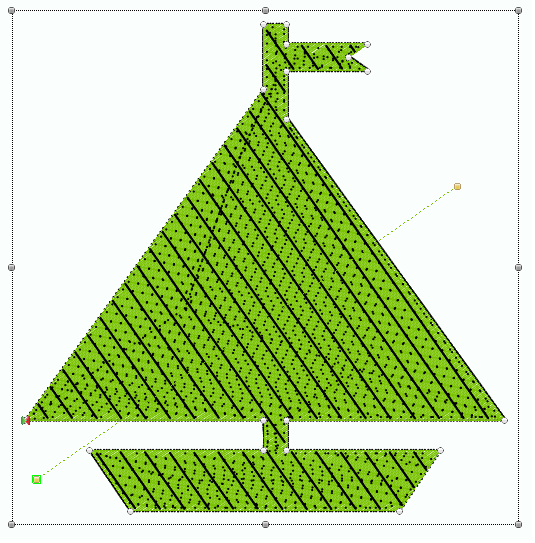
➢Click on the green color from the Color Bar to change the area color. ➢Change the pattern direction line by moving its nodes. |
|
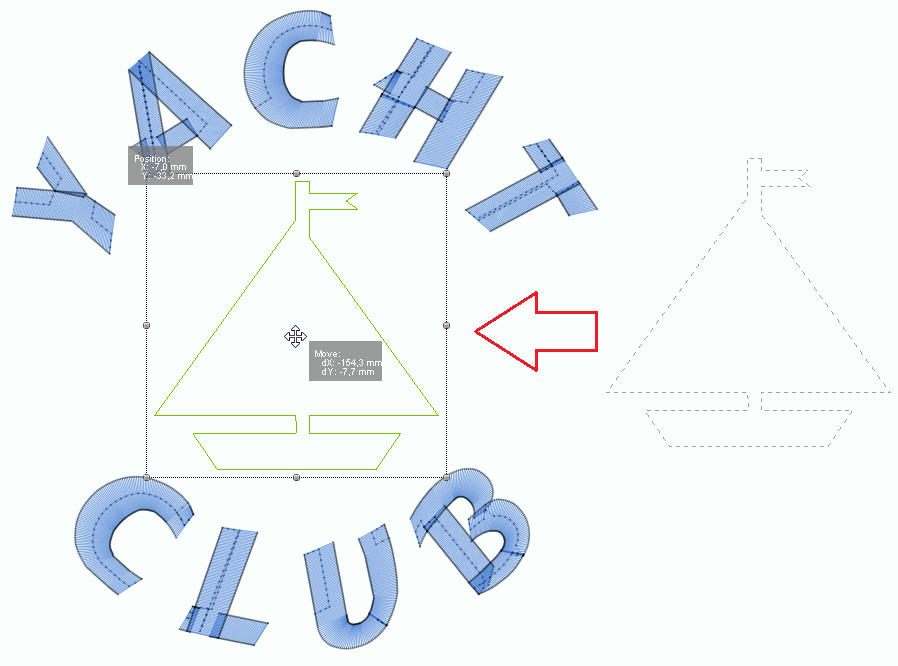
Define the object position: ➢Click and hold the mouse button on the boat shape. ➢Without releasing the mouse button, drag it to the center of the created text. ➢Release and press ENTER to confirm.
|
|
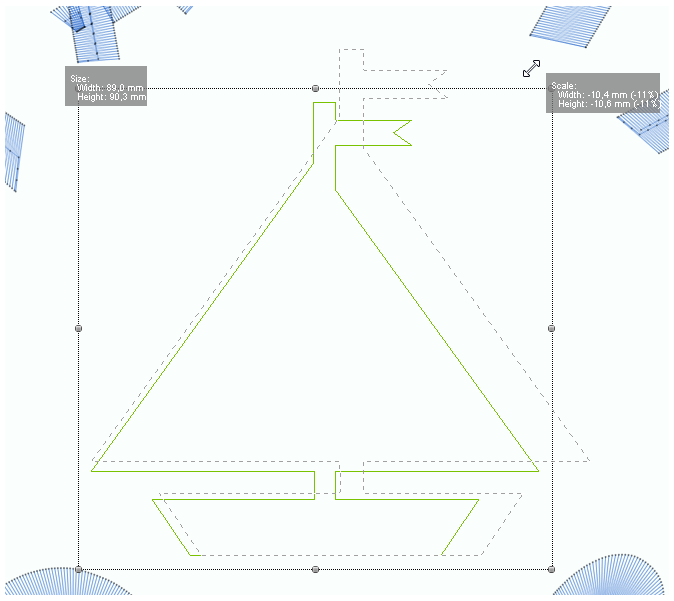
Adjust the area size if necessary: ➢To change the size keeping its symmetry, click and drag any of the corner nodes. ➢To change the size not keeping its symmetry, click and drag any of the middle nodes. ➢Press ENTER to confirm and generate the stitches. |
|
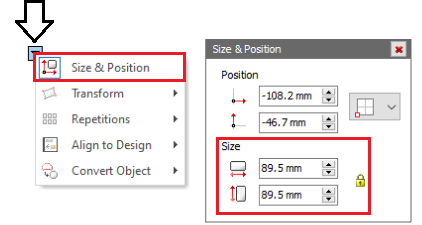
You can also adjust the size from the BLOCK MENU. ➢Select the created area using the EDIT OBJECT tool to edit it. ➢Place the mouse on the BLOCK MENU to unfold the tools ➢Click on Size & Position. ➢Set the desired size from the Size group. |
Final Design
