When the artwork (the base image used as a reference to create the objects) comes from a vector graphic file, imported from other graphic applications or vector objects created in this application, the new embroidery object can automatically take the shape of the vector objects.
How to create embroidery objects from vector objects?
By using the SMART DESIGN tool, the creation of the new embroidery object requires just one click
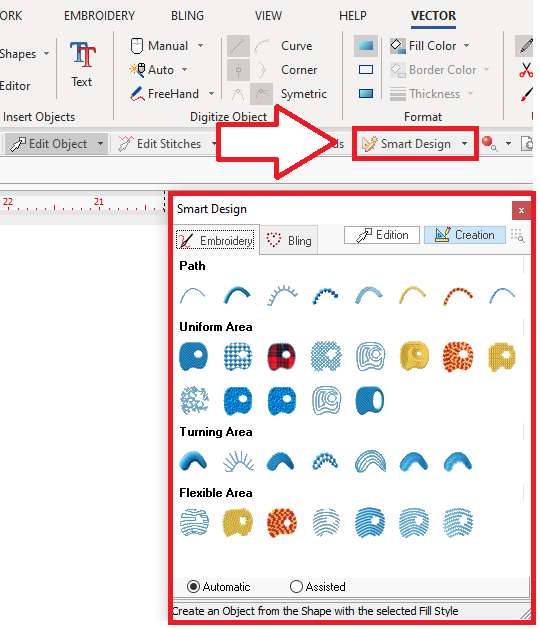
➢Click on SELECT OBJECT, on the MAIN bar to select the vector objects. ➢Click on SMART DESIGN, on the MAIN bar to open the Smart Design tool. The SMART DESIGN tool will open. ➢Click on CREATION, on the SMART DESIGN tool to use this tool to create new objects (you can later use this tool to edit existing objects). |
|
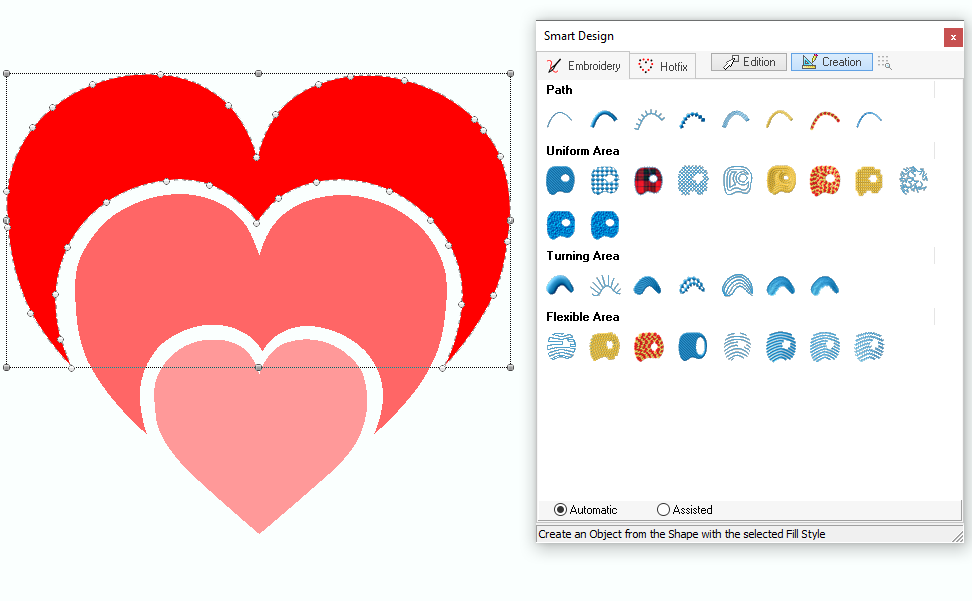
➢Select a vector object (mouse left click on it) on the Workspace. |
|
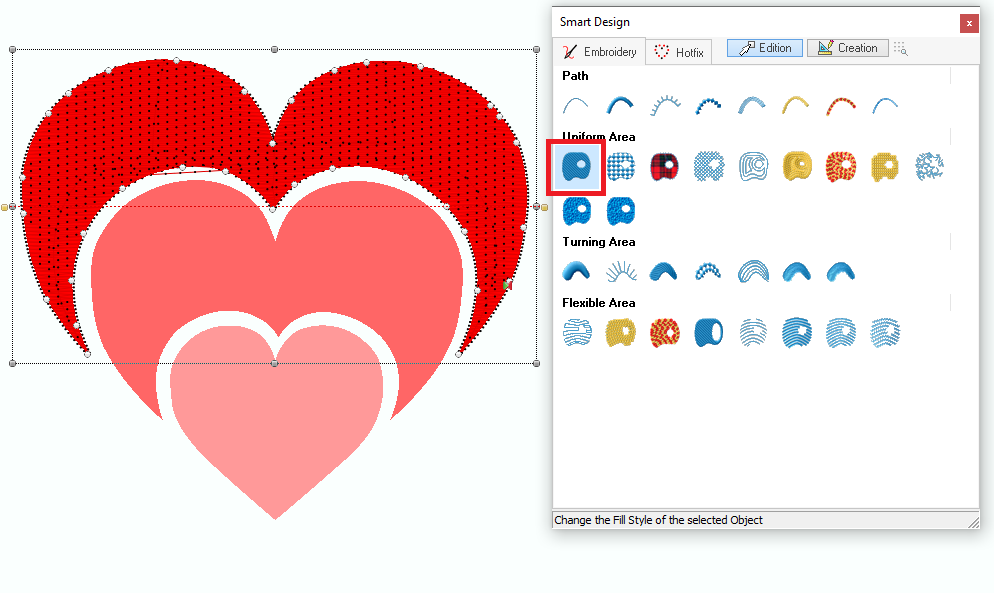
➢Click on the object type and fill style you want for that object, on the Smart Design tool. In this case, use the Area + Pattern Stitches.
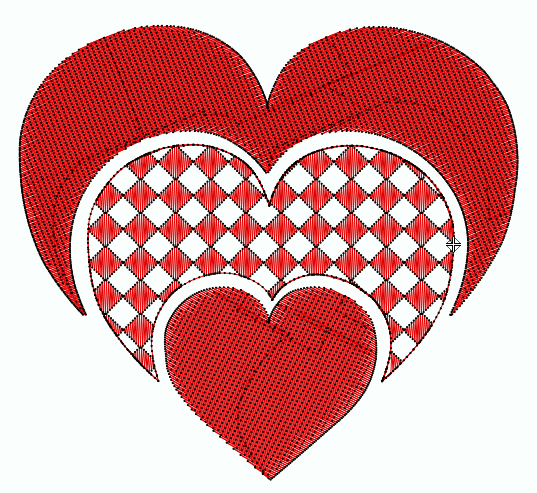
That's all. A new embroidery object has been created. It has the selected object type and fill style, and the geometry is the shape of the vector object. |
|