Object Editing refers to the modification of existing (pre-created) objects. The characteristics of the different types of objects were already explained in detail on previous articles when the object was originally created. This article shows how all those previously defined characteristics can be easily edited (modified) through several available tools.
Objects are defined by:
•Object Geometry |
The elements of the geometry of the object include the shape of the object, the holes, the direction lines, etc. |
•Object Fill |
It refers to the decoration specialty, the fill styles and the properties of the fill styles. |
You can edit both geometry and fill of any object at any moment. The procedure is as easy as:
1.Click on EDIT OBJECT on the MAIN toolbar to activate the Object Editing mode.
2.Select the object to edit in the workspace by pressing the mouse left button on it.
3.Start editing any object characteristic.
When selecting an object:
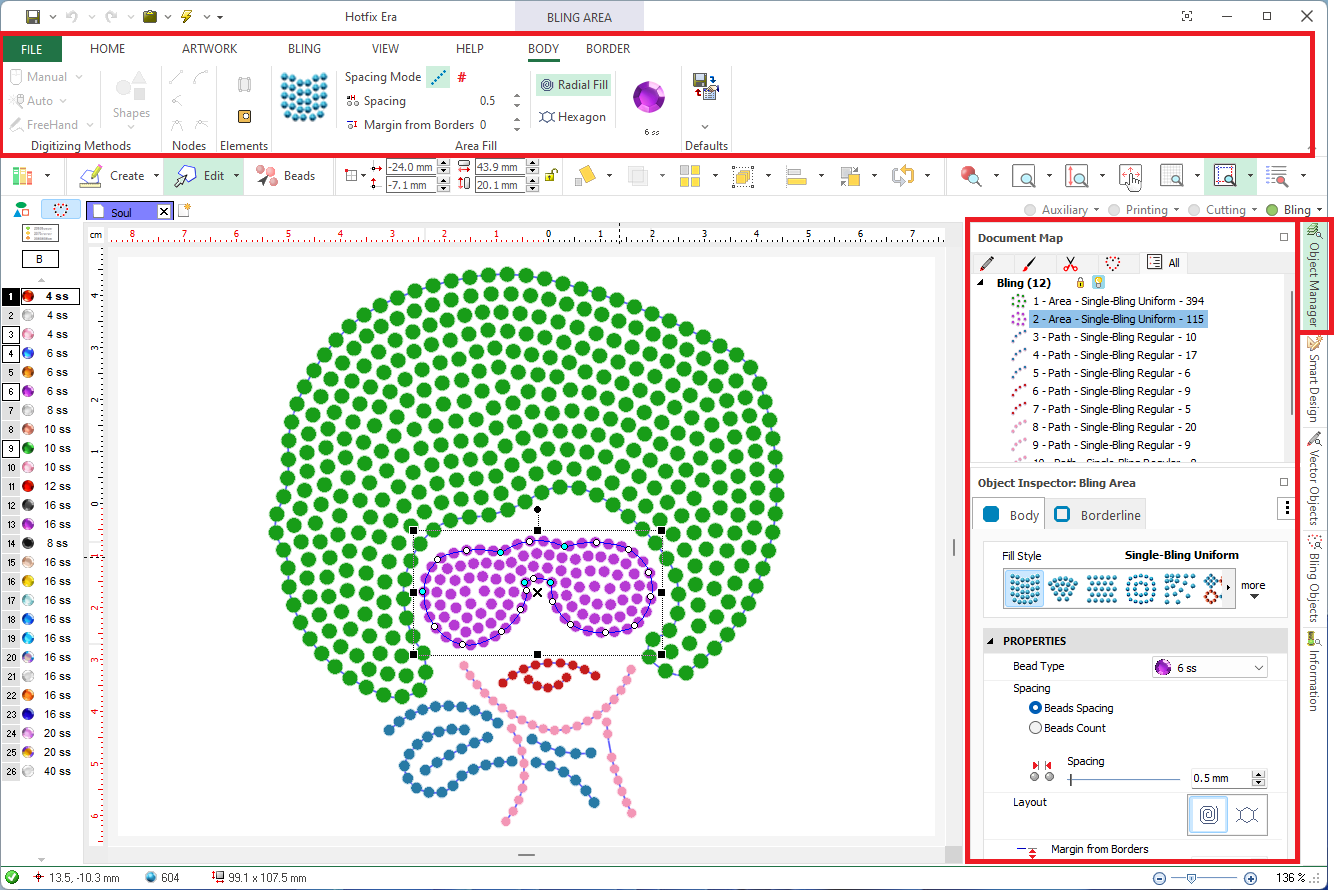
•In the Workspace, the object is highlighted, a rectangle surrounds it (it shows the object as a block). The functions related with an object as a block are described in Block Editing.
•In the Workspace, the object shows the nodes (grips) of the object shape and other elements of the geometry that completely define the object geometry. The functions related with those elements are described in Editing the Object Geometry.
•The Object Inspector shows the fill style and the fill properties of the selected object. At the same time, the Context Tooltab shows the most frequently used properties. The functions related with those properties are described in Editing the Object Properties.
Editing the Object Geometry
Object Geometry Editing refers to the modification of the shape of the objects.
The geometry of the object and other geometric elements can be edited from the workspace. Basically you can modify the position of any node that define the shape (the shape changes when moving a node), edit the node properties, add more nodes, delete the nodes, or edit any other geometric element from the workspace.
You can select each element of the geometry of the object (grip) on the workspace and then:
•Graphically modify it (mouse left button or shortcut keys).
•Edit a property or execute any function from the context tooltab.
•Edit a property or execute any function from the context menu (mouse right button).
Some of the geometric editing functions are:
•Move nodes (change the object shape)
•Change the node angles
•Delete the nodes
•Add more nodes (a sequence of nodes)
•Insert intermediate nodes (between 2 nodes)
•Edit node properties (line, curve, corner)
•etc.
Editing the Object Properties
Object Properties Editing refers to the modification of the fill style and its properties.
|
Details about object properties of the different object types are described in Object TYPES and Fill STYLES. This article will describe how to edit just a few object properties. |
You can edit the properties of the object from several places, according to the object type and the specific property:
•From the Object Inspector: This tool includes all the object properties you can edit.
•From the Context Tooltab: This tool includes the most frequently used properties of the object.
•From the Smart Design tool: You can change the fill style (only).
•From the Color Bar: You can change the object color
•etc.
Mentioned tools are visible when you select an object.

Miscellaneous Editing Functions
Close an Open Shape
➢Select the Object (Click on EDIT OBJECT or F11).
➢Click on any node
➢Open the context menu (Click on the mouse right button)
➢Execute CLOSE SHAPE function.
Bling Painter Tool
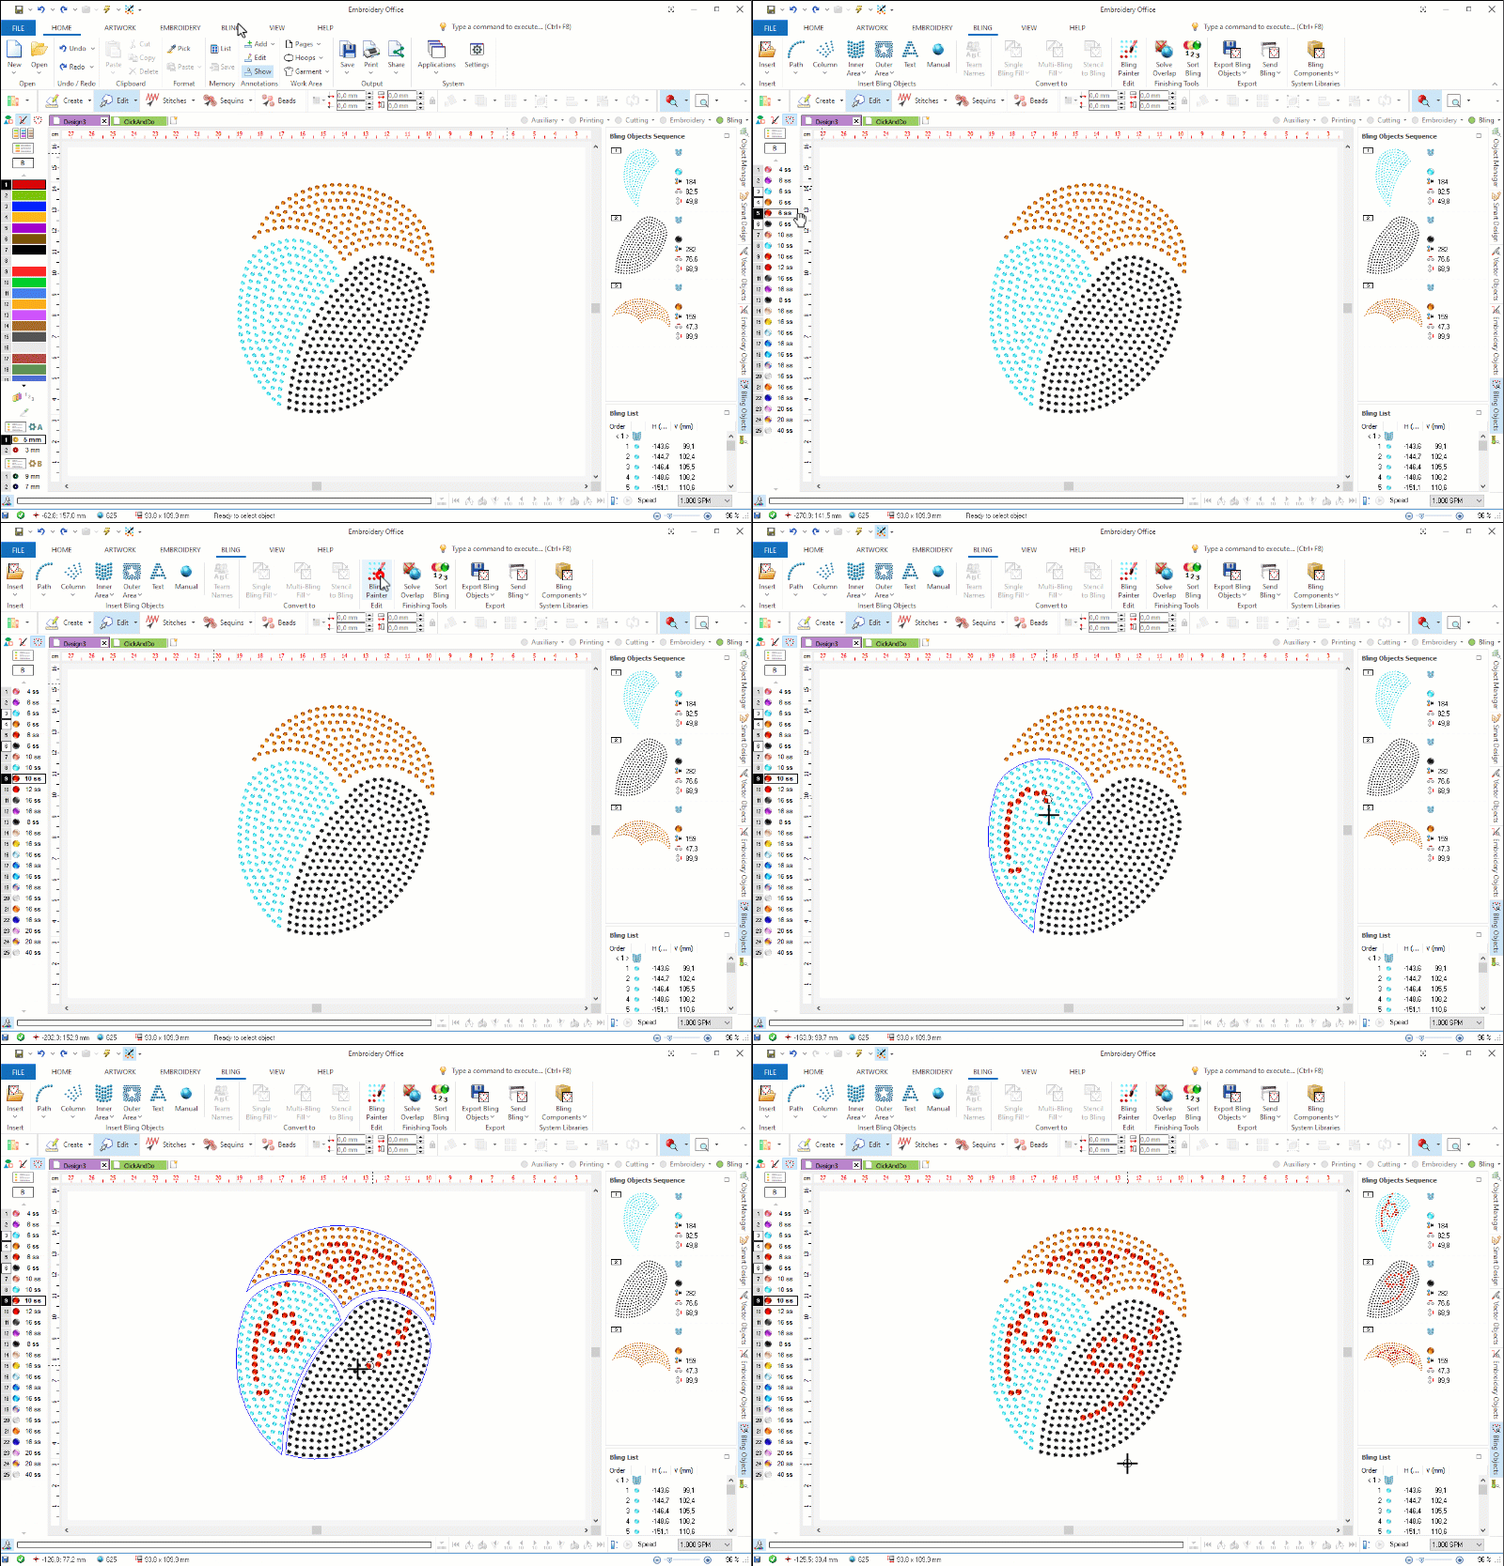
The Bling Painter tool allows you to replace beads in your design, no matter which objects they belong to, very quickly and easily.

➢Select the bead with which you want to replace the existing ones
➢Select Bling Painter (Bling tooltab)
➢Drag over the beads of your design. As the pointer passes over the beads, they will be replaced by the selected one.
➢You can also drag using the right button of your mouse to restore the original beads.

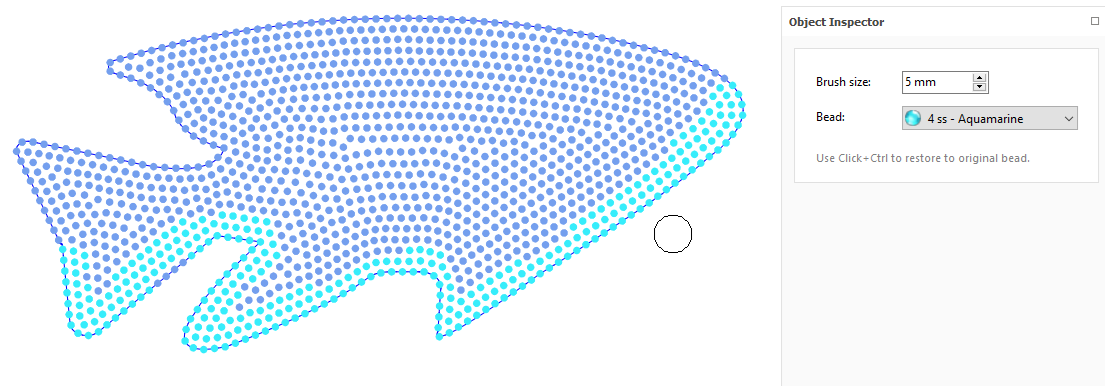
➢Starting with version 23.20, when you select the Bling Painter Tool, the Object Inspector shows a panel with controls to adjust the painter size and the bead type to paint with.
